Self-Hosted AI Stack: Run Your Own Private AI Assistant at Home
The more you use AI assistants, the better they become—but this comes at a cost: your privacy. Every conversation with ChatGPT, every query to Claude, every image you generate gets processed on someone else's servers.
What if you could run a comparable AI stack entirely on your own hardware? No data leaving your network, no privacy compromises, no subscription fees after the initial setup.
This guide walks you through building a complete self-hosted AI system that handles chatbots, image generation, voice transcription, and smart home integration—all running locally in your home lab.
Why Self-Host Your AI?
 Keep your AI conversations completely private with local hosting
The case for self-hosting AI goes beyond just privacy:
Privacy benefits:
- No conversation data sent to external servers
- No training data collected from your usage
- Complete control over what the AI knows about you
- HIPAA-compliant for medical discussions
- Safe for proprietary business information
Cost benefits:
- No monthly subscription fees
- No per-token API costs
- Use unlimited generations
- Scale without billing surprises
Control benefits:
- Choose exactly which models to run
- Customize system prompts and behaviors
- Integrate with any local service
- No content moderation limits
The trade-off is upfront hardware cost and some technical setup, but for developers and privacy-conscious users, it's absolutely worth it.
Step 1: Install Ollama as Your Model Manager
 Ollama makes downloading and running local LLMs simple
Ollama is the foundation of our self-hosted stack. It's an open-source tool that downloads, manages, and runs AI models locally.
Installation on Linux/macOS:
curl -fsSL https://ollama.ai/install.sh | sh
Installation on Windows: Download the installer from ollama.ai/download.
Once installed, pull your first model:
ollama pull llama3

ollama pull mistral

ollama pull starcoder2
Test that it works:
ollama run llama3 "Explain what makes self-hosted AI better for privacy"
Available models include:
- Llama 3 from Meta - excellent general capability
- Gemma 2 from Google - strong reasoning
- Phi 3 from Microsoft - compact but capable
- StarCoder 2 - specialized for code generation
- LLaVA - vision models that understand images
Ollama handles all the complexity of loading models, managing GPU memory, and exposing an API that other tools can use.
Step 2: Add Open WebUI for a ChatGPT-Like Interface
 Open WebUI provides a familiar ChatGPT-style interface for your local models
Open WebUI gives you a polished chat interface that connects to Ollama. If you've used ChatGPT, you'll feel right at home.
Install with Docker:
docker run -d -p 3000:8080 \
  --add-host=host.docker.internal:host-gateway \
  -v open-webui:/app/backend/data \
  --name open-webui \
  --restart always \
  ghcr.io/open-webui/open-webui:main
Access the interface at http://localhost:3000 and create your admin account.
Features that rival cloud services:
- Multiple user accounts with permissions
- Model switching within conversations
- Memory features that remember context
- Web search integration (more on this below)
- File uploads for document analysis
- Voice input and output
- Custom system prompts
Enable anonymous web search:
Integrate with SearXNG, a privacy-respecting meta search engine, to give your AI web access without tracking:
docker run -d --name searxng \
  -p 8080:8080 \
  -v searxng:/etc/searxng \
  searxng/searxng
In Open WebUI settings, add your SearXNG URL as a search provider. Now your AI can search the web and cite sources—all without any data leaving your network.
Step 3: Set Up Local Image Generation
 Generate images locally with Stable Diffusion and ComfyUI
For image generation comparable to DALL-E or Midjourney, you'll need:
- A model - Stable Diffusion XL, Flux, or similar
- An engine - ComfyUI or Automatic1111
- Sufficient GPU VRAM - 8GB minimum, 12GB+ recommended
Install ComfyUI:
git clone https://github.com/comfyanonymous/ComfyUI.git
cd ComfyUI
pip install -r requirements.txt
Download models from Hugging Face and place them in the models/checkpoints/ directory.
Start ComfyUI:
python main.py
Integration with Open WebUI:
You can connect image generation directly into your chat interface. Ask your AI for an image, and it will generate one using your local ComfyUI instance.
The key insight: prompt quality determines output quality. Study prompt engineering or use prompt generators to get the most from your models.
Step 4: Integrate AI into Your Code Editor
 Get GitHub Copilot-like features without sending code to the cloud
One of the most practical uses for local AI is code assistance. The Continue extension for VS Code connects to your Ollama instance:
- Install the Continue extension from VS Code marketplace
- Configure it to use your Ollama endpoint (
http://localhost:11434) - Select a code-optimized model like StarCoder 2
What you get:
- Tab completion suggestions as you type
- Code explanations on demand
- Bug fix suggestions
- Language conversion (Python to JavaScript, etc.)
- Documentation generation
This gives you a private, self-hosted alternative to GitHub Copilot. Your code never leaves your machine.
For OpenClaw users, you can also configure OpenClaw to use your local Ollama instance for coding assistance through Telegram, Discord, or the CLI.
Step 5: Add Voice Transcription with Whisper
 Transcribe audio locally with OpenAI's Whisper models
Whisper is OpenAI's speech recognition model—released open source. Run it locally for:
- Meeting transcriptions
- Podcast notes
- Voice memos to text
- Subtitle generation
- Multi-language support
Install the web interface:
docker run -d -p 9000:9000 \
  -v whisper-data:/data \
  --name whisper-webui \
  onerahmet/openai-whisper-asr-webservice
Choose your model size:
- Tiny/Base - Fast, good for clear speech
- Small/Medium - Balanced accuracy
- Large - Best accuracy, removes stutters and filler words
Upload audio or paste YouTube URLs for transcription. Export to SRT, VTT, or plain text.
Step 6: Supercharge Home Assistant
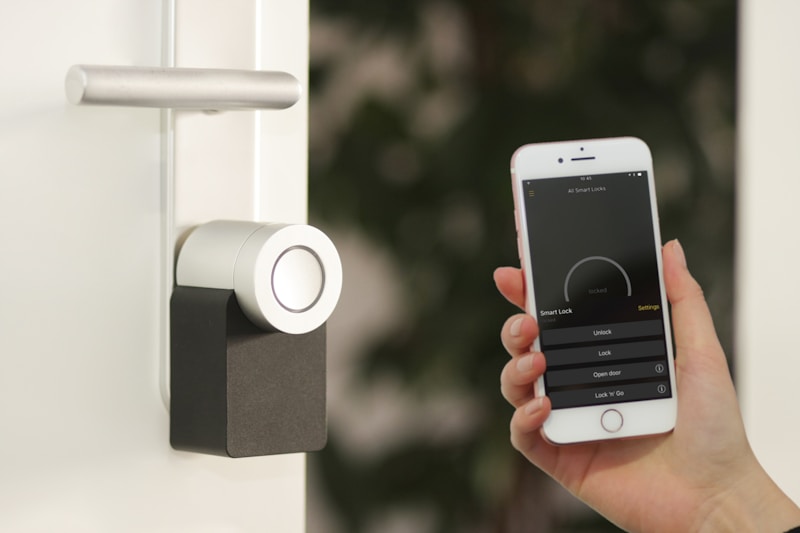 Add AI intelligence to your home automation
If you run Home Assistant for home automation, you can integrate it with your Ollama instance:
- Install the Ollama integration in Home Assistant
- Configure the connection to your Ollama server
- Set a default model for the assistant
Now your Home Assistant voice commands get processed by your local LLM. Ask questions about your home state, get contextual responses, and control devices naturally.
Current limitations:
- Action execution requires cloud AI (Google AI or OpenAI) currently
- Ollama action support is coming in future updates
- Local Whisper integration is slower without GPU acceleration
What works today:
- Natural language queries about home state
- Contextual responses about your devices
- Integration with Piper for text-to-speech responses
Choosing Your Hardware
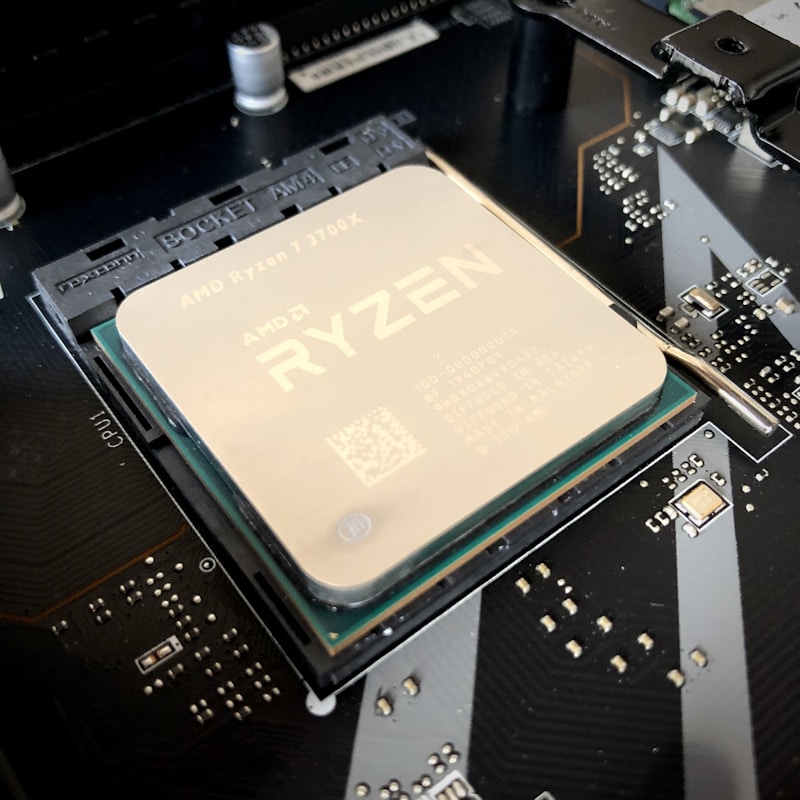 Match your hardware to your AI workload
Your hardware needs depend on what you want to run:
Entry level (CPU only):
- 16GB+ RAM
- Modern CPU with AVX2 support
- Works for small models (7B parameters)
- Slower generation speeds
Mid-range (older GPU):
- NVIDIA GTX 1080 or RTX 2060+
- 8GB+ VRAM
- Runs most 7B-13B models well
- Good for chat and code completion
Enthusiast (modern GPU):
- NVIDIA RTX 3090/4090
- 24GB VRAM
- Runs 30B+ parameter models
- Image generation at full quality
Server/home lab:
- Multiple GPUs
- 64GB+ system RAM
- Run multiple models simultaneously
- Serve multiple users
For most users, a system with an RTX 3060 12GB or better provides the sweet spot of capability and cost.
Conclusion
Your privacy-first AI infrastructure, running entirely on your own hardware
Building a self-hosted AI stack is more accessible than ever. With Ollama managing models, Open WebUI providing the interface, and integrations for code editing, voice transcription, and home automation, you can replicate most cloud AI capabilities locally.
The privacy benefits are clear: no conversation logs on external servers, no training data extracted from your usage, complete control over your AI experience.
Next steps to explore:
- Connect your stack to OpenClaw for multi-platform access
- Set up Discord bot integration for team access
- Configure scheduled automations for AI-powered workflows
The future of AI should include the option to keep everything local. With these tools, that future is available today.
FAQ
 Common questions about running AI locally
How much does it cost to run AI at home?
After initial hardware investment, running costs are just electricity. No API fees, no subscriptions. A typical session uses less power than gaming.
Can local models match ChatGPT quality?
For many tasks, yes. Llama 3 and similar models perform comparably on coding, writing, and analysis. They may lag on the latest knowledge since they don't have internet access by default.
What about Apple Silicon Macs?
Ollama runs great on M1/M2/M3 Macs. The unified memory architecture means you can run larger models than discrete GPU setups with equivalent VRAM.
Is it hard to keep models updated?
Ollama makes updates easy: ollama pull model-name downloads the latest version. New models are released regularly on the Ollama library.
Can I access my local AI remotely?
Yes, with a VPN or tunnel service like Tailscale. OpenClaw can also bridge your local AI to messaging platforms for remote access without exposing your network.
More Articles
The Ultimate OpenClaw AWS Setup Guide
The definitive guide to setting up OpenClaw on AWS. Includes spot instance configuration, cost optimization, and step-by-step instructions.
Building AI Workflows with Tool Chaining in OpenClaw
Master the art of chaining tools and function calls to build powerful multi-step AI automation workflows—from data extraction to content generation and deployment.
Cost Optimization Guide for Self-Hosted AI Assistants: Run Claude on a Budget
Practical strategies to reduce API costs for self-hosted AI assistants—smart model routing, caching, batching, and OpenClaw-specific optimizations to run Claude affordably.