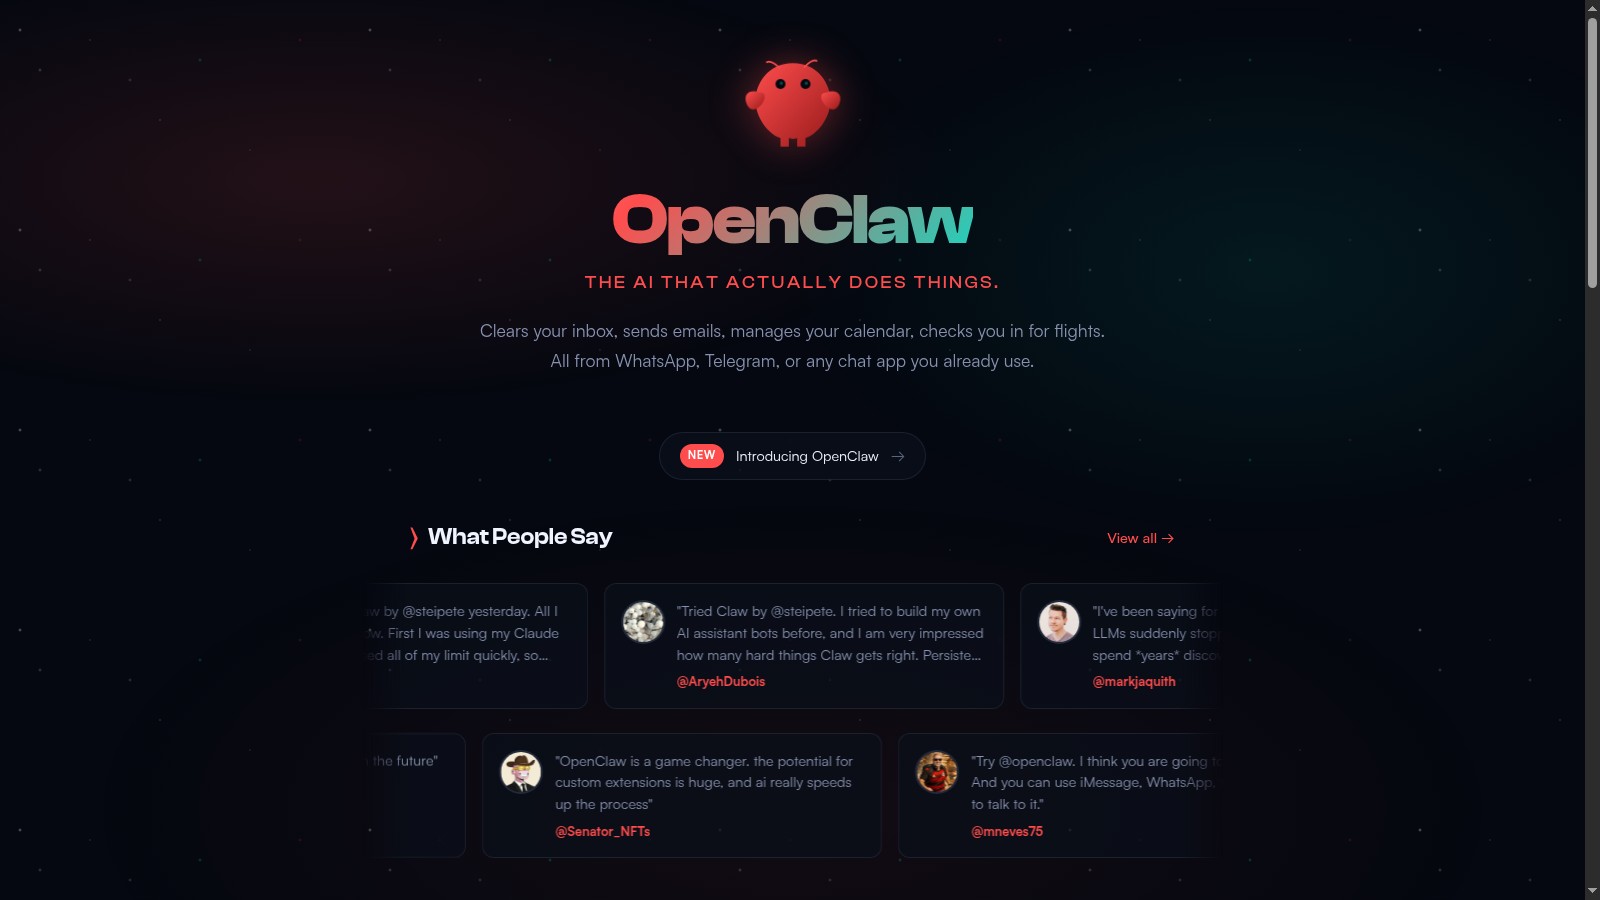
How to Set Up OpenClaw as a Discord Bot (Complete 2026 Guide)
Want to chat with Claude AI directly in Discord? OpenClaw makes it possible to run your own AI-powered Discord bot with full conversation memory, file handling, and native slash commands.
Unlike generic Discord bots, an OpenClaw-powered bot maintains context across conversations, can execute tasks, search the web, and integrate with your other tools. It's like having a personal AI assistant living in your Discord server.
This guide walks you through the complete setup process, from creating your Discord application to having your first conversation with your new AI bot.
1. Create a Discord Application
 Discord Developer Portal
First, you need to create a Discord application that will serve as the container for your bot.
Head to the Discord Developer Portal and sign in with your Discord account. Click the New Application button in the top right corner.
Give your application a name — this will be displayed in Discord when users interact with your bot. Something like "Krill" or "OpenClaw Bot" works well.
After creating the application, you'll land on the General Information page. Take note of the Application ID — you'll need this later for the invite link.
2. Add the Bot User
 Discord Bot Settings
In the left sidebar, click on Bot to access the bot settings. Click Add Bot and confirm when prompted.
This creates the actual bot user that will appear in your Discord server. You can customize the bot's username and avatar here.
Critical step: Under Privileged Gateway Intents, you must enable:
- ✅ Message Content Intent — Required to read message text
- ✅ Server Members Intent — Needed for user lookups and allowlists
Without Message Content Intent, your bot will connect but won't be able to read any messages. This is the most common setup mistake.
Now click Reset Token to generate your bot token. Copy this token immediately and store it securely — you won't be able to see it again. This token is like a password for your bot.
3. Generate the Invite Link
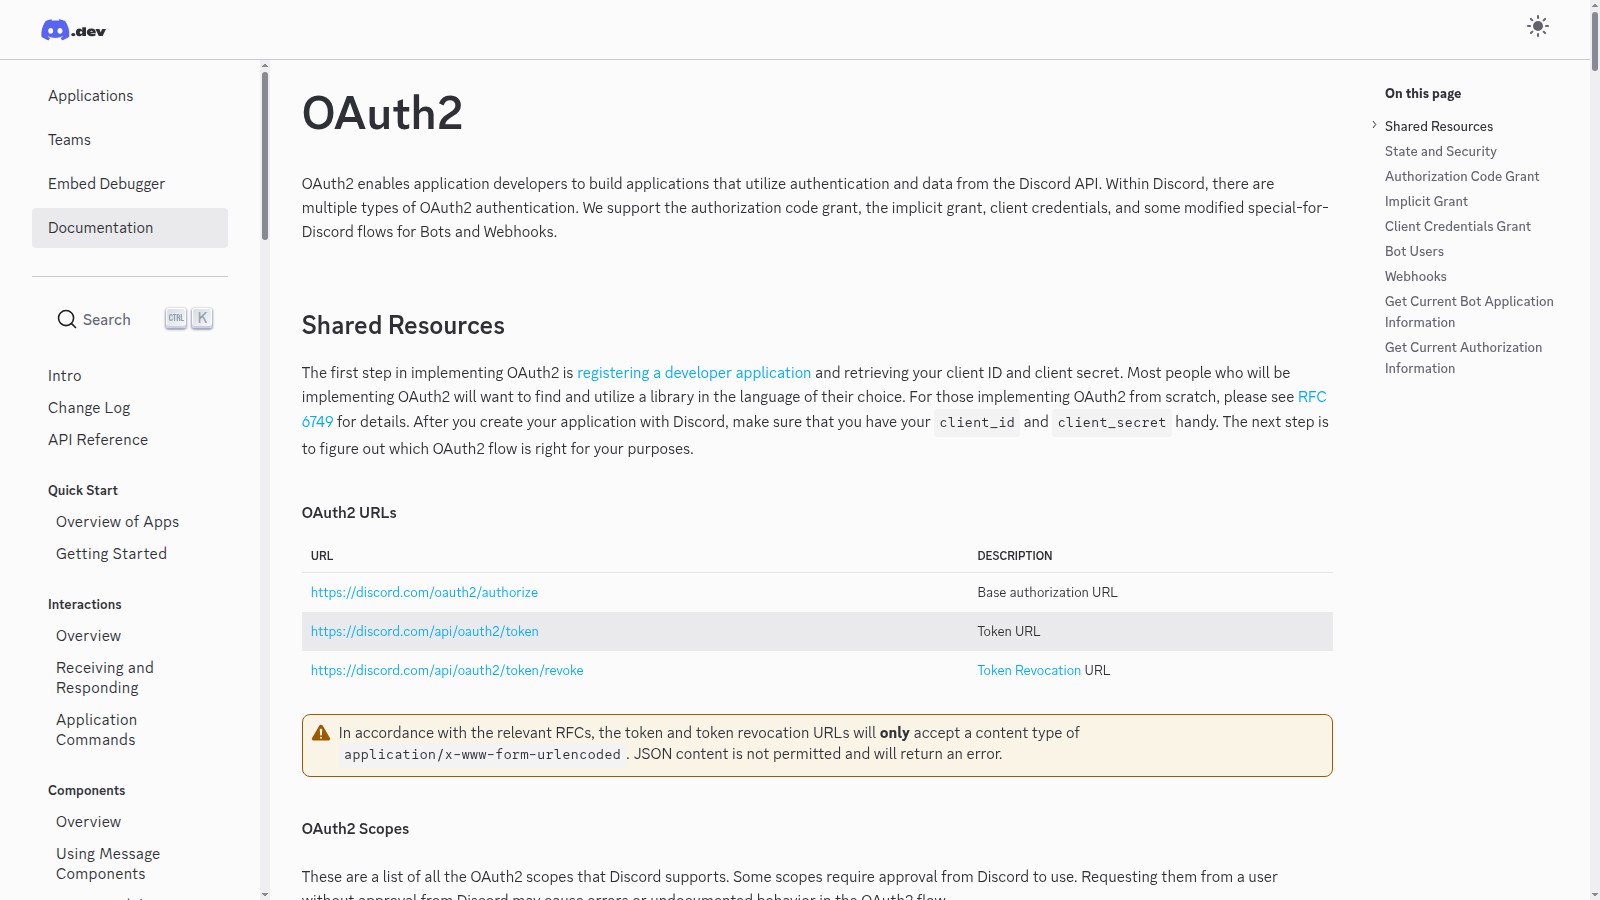 Discord OAuth2 URL Generator
Navigate to OAuth2 → URL Generator in the left sidebar. This tool creates the special URL that lets you add your bot to servers.
Under Scopes, select:
- ✅
bot - ✅
applications.commands(required for slash commands)
Under Bot Permissions, select at minimum:
- ✅ View Channels
- ✅ Send Messages
- ✅ Read Message History
- ✅ Embed Links
- ✅ Attach Files
- ✅ Add Reactions
Copy the generated URL at the bottom. Open it in your browser, select your server, and authorize the bot. You should see your bot appear in the server member list (it will be offline until we configure OpenClaw).
4. Get Your Server and Channel IDs
 Discord Developer Mode
Discord uses numeric IDs for everything. To configure OpenClaw properly, you'll need your server (guild) ID and channel IDs.
In Discord, go to User Settings → Advanced and enable Developer Mode. This adds "Copy ID" options to right-click menus.
Now right-click on:
- Your server name → Copy Server ID
- The channel you want the bot to use → Copy Channel ID
- Your username → Copy User ID
Save these IDs somewhere — you'll need them for the OpenClaw configuration.
5. Configure OpenClaw
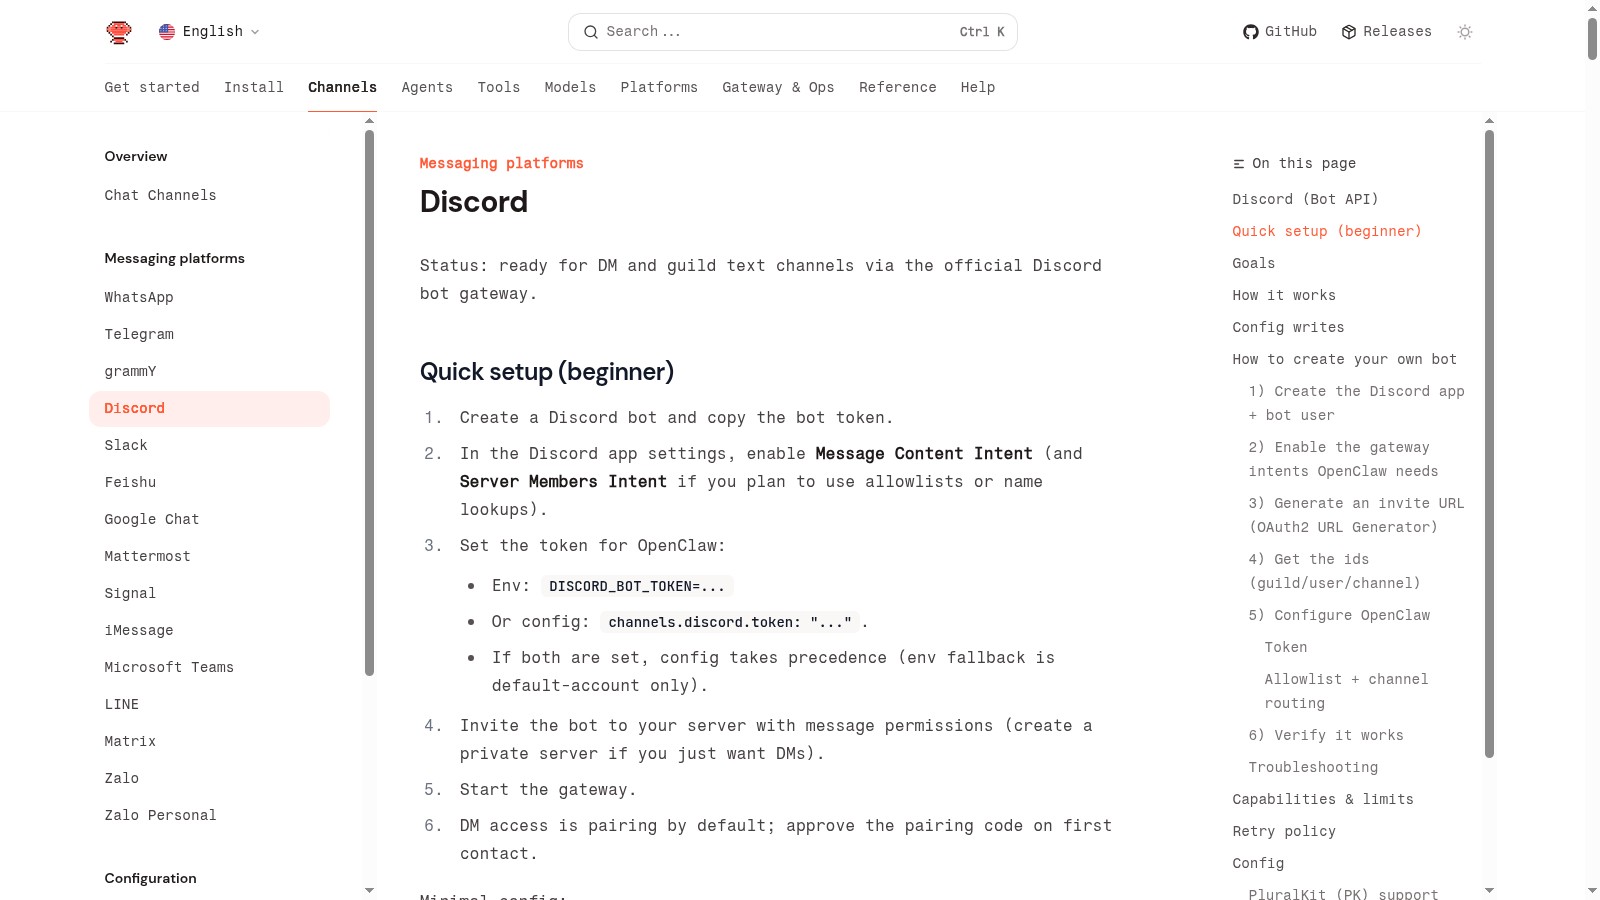 OpenClaw Discord Configuration
Now let's connect everything. You have two options for setting the bot token:
Option 1: Environment Variable (Recommended)
export DISCORD_BOT_TOKEN="your-bot-token-here"
Add this to your ~/.bashrc or ~/.zshrc to make it permanent.
Option 2: Config File
Add the token directly to your OpenClaw config:
{
  channels: {
    discord: {
      enabled: true,
      token: "your-bot-token-here"
    }
  }
}
For a more complete setup with allowlists and channel restrictions:
{
  channels: {
    discord: {
      enabled: true,
      dm: {
        enabled: true,
        policy: "pairing"
      },
      guilds: {
        "YOUR_GUILD_ID": {
          requireMention: true,
          users: ["YOUR_USER_ID"],
          channels: {
            "YOUR_CHANNEL_ID": {
              allow: true,
              requireMention: true
            }
          }
        }
      }
    }
  }
}
Replace the placeholder IDs with the ones you copied earlier.
6. Start the Gateway and Test
 OpenClaw Gateway Running
Start (or restart) the OpenClaw gateway:
openclaw gateway restart
Check that Discord connected successfully:
openclaw channels status
You should see Discord listed as connected. If there are errors, the most common issues are:
- "Used disallowed intents" — Enable Message Content Intent in the Developer Portal
- Bot connects but doesn't respond — Check that your channel ID is in the allowlist
- "Invalid token" — Double-check you copied the full bot token
7. Have Your First Conversation
 Discord Bot Conversation
Head to your Discord server and the channel you configured. If you set requireMention: true, you'll need to @mention your bot:
@Krill what can you do?
Your OpenClaw-powered bot should respond with its capabilities. Congratulations — you now have Claude AI running in your Discord server!
Pro tips for using your Discord bot:
- DM the bot for private conversations (requires pairing approval on first contact)
- Use threads for organized conversations — the bot treats each thread as a separate context
- Share files directly in chat — the bot can read images, PDFs, and code files
- Use slash commands like
/statusor/helpfor quick actions
8. Advanced Configuration
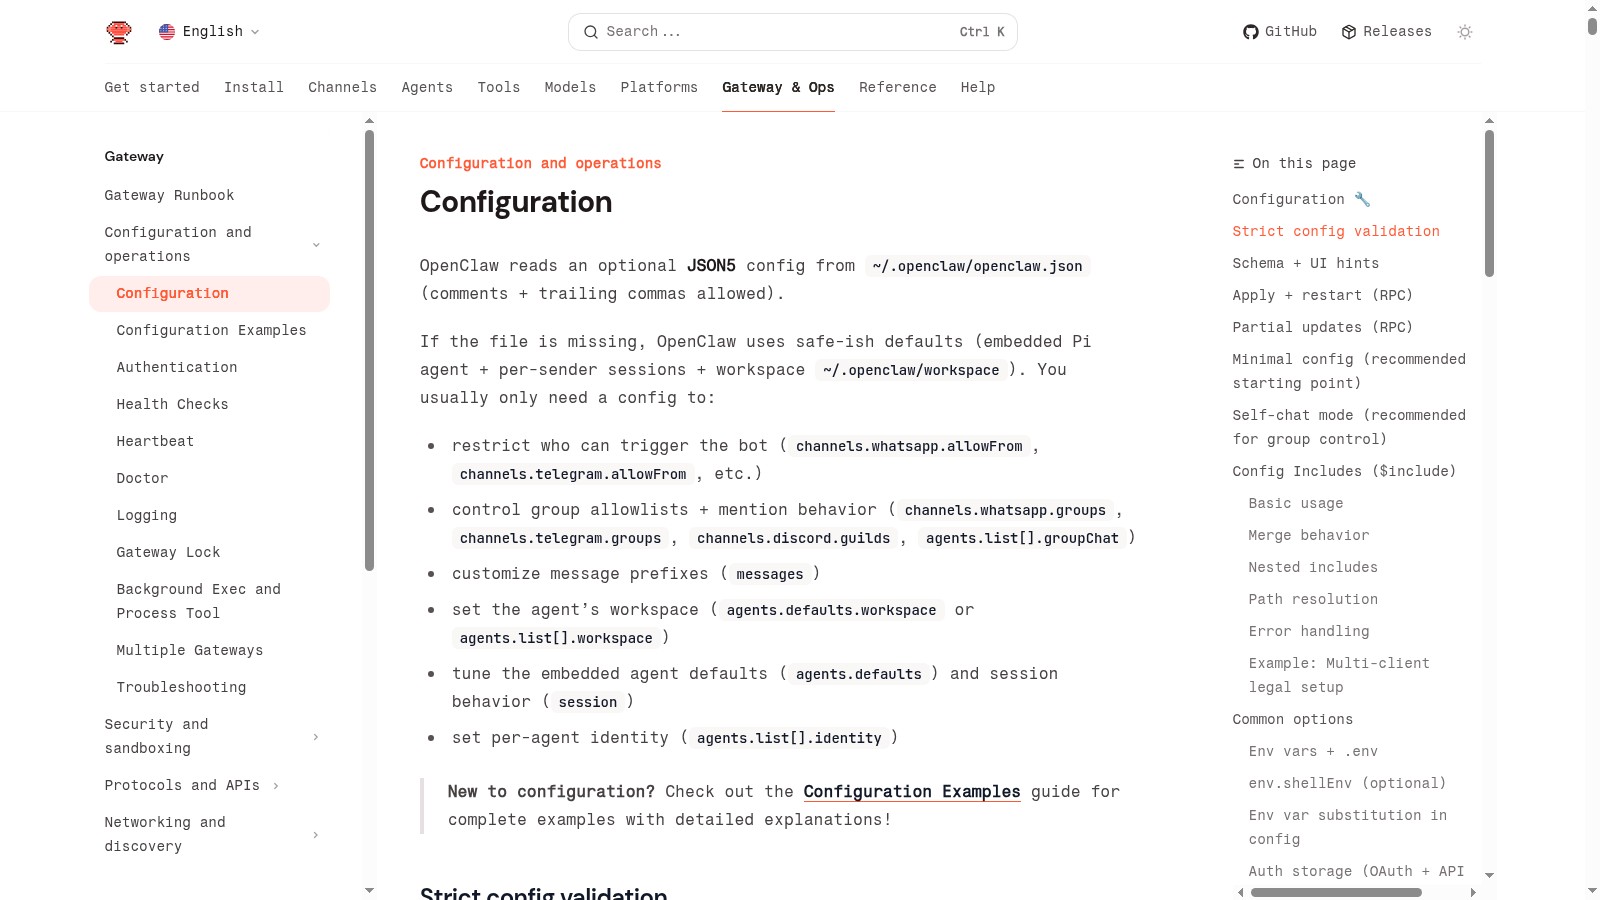 OpenClaw Discord Advanced Settings
Once your basic setup is working, consider these advanced options:
Per-channel system prompts:
channels: {
  "help": {
    allow: true,
    systemPrompt: "You are a helpful support bot. Keep answers concise."
  }
}
Skill restrictions per channel:
channels: {
  "coding-help": {
    allow: true,
    skills: ["coding", "docs"]
  }
}
History limit for context:
discord: {
  historyLimit: 20  // Include last 20 messages as context
}
Reaction notifications:
guilds: {
  "YOUR_GUILD_ID": {
    reactionNotifications: "own"  // Get notified of reactions on bot messages
  }
}
Conclusion
 OpenClaw Discord Features
You've successfully set up OpenClaw as a Discord bot. Your AI assistant is now available 24/7 in your Discord server, ready to help with questions, tasks, and conversations.
The power of OpenClaw over traditional Discord bots is the persistent context and tool access. Your bot remembers past conversations, can search the web, manage files, and execute complex multi-step tasks — all through natural language in Discord.
Next steps to explore:
- Set up multiple agents for different Discord channels
- Configure exec approvals for safe command execution
- Add scheduled tasks that report to Discord
- Connect other channels alongside Discord (Telegram, Slack, etc.)
Join the OpenClaw Discord community if you have questions or want to share your setup!
Frequently Asked Questions
 OpenClaw Documentation
Can multiple people use the bot?
Yes! Configure the users allowlist in your guild settings to specify who can interact with the bot. Each user gets their own conversation context in DMs.
Does the bot work in threads?
Absolutely. Threads are treated as separate channels with their own context. This is great for keeping different conversations organized.
How do I update the bot's personality?
Edit your SOUL.md and AGENTS.md files to customize the bot's behavior and personality. Changes take effect on the next gateway restart.
What if the bot stops responding?
Check openclaw channels status and the gateway logs. Common issues are rate limits (the bot backs off automatically) or expired/invalid tokens.
Can the bot post images and files?
Yes — the bot can send images, embed links, and attach files up to the configured mediaMaxMb limit (default 8MB).
More Articles
The Ultimate OpenClaw AWS Setup Guide
The definitive guide to setting up OpenClaw on AWS. Includes spot instance configuration, cost optimization, and step-by-step instructions.
Building AI Workflows with Tool Chaining in OpenClaw
Master the art of chaining tools and function calls to build powerful multi-step AI automation workflows—from data extraction to content generation and deployment.
Cost Optimization Guide for Self-Hosted AI Assistants: Run Claude on a Budget
Practical strategies to reduce API costs for self-hosted AI assistants—smart model routing, caching, batching, and OpenClaw-specific optimizations to run Claude affordably.