OpenClaw Node Pairing: Control Remote Devices with Your AI Assistant
OpenClaw's node pairing system lets your AI assistant control remote devices—phones, tablets, computers, servers—from a central location. Instead of running multiple separate AI instances, you pair devices as "nodes" that your main OpenClaw instance can command. This enables powerful cross-device automation: capture photos from your phone's camera, screenshot your desktop, record your tablet's screen, or run commands on remote servers—all through natural language.
Node pairing creates a distributed AI ecosystem where one intelligent agent orchestrates actions across all your devices. This guide covers setup, security, and practical automation use cases.
Understanding OpenClaw's Node Architecture
OpenClaw uses a gateway-node model where one central instance controls multiple paired devices
OpenClaw's architecture has two components: the gateway (your main OpenClaw instance) and nodes (remote devices). The gateway runs the AI agent and makes decisions. Nodes are lightweight clients that receive commands and report back results.
When you pair a node, it establishes an authenticated connection to your gateway. The gateway can then invoke node capabilities—camera access, screen recording, location services, command execution, notifications. Nodes don't run AI models themselves; they're command executors controlled by the central intelligence.
This design keeps costs low (one API subscription), simplifies management (single configuration), and enables cross-device workflows. Your phone becomes your AI's eyes, your desktop becomes its workspace, and your server becomes its automation engine.
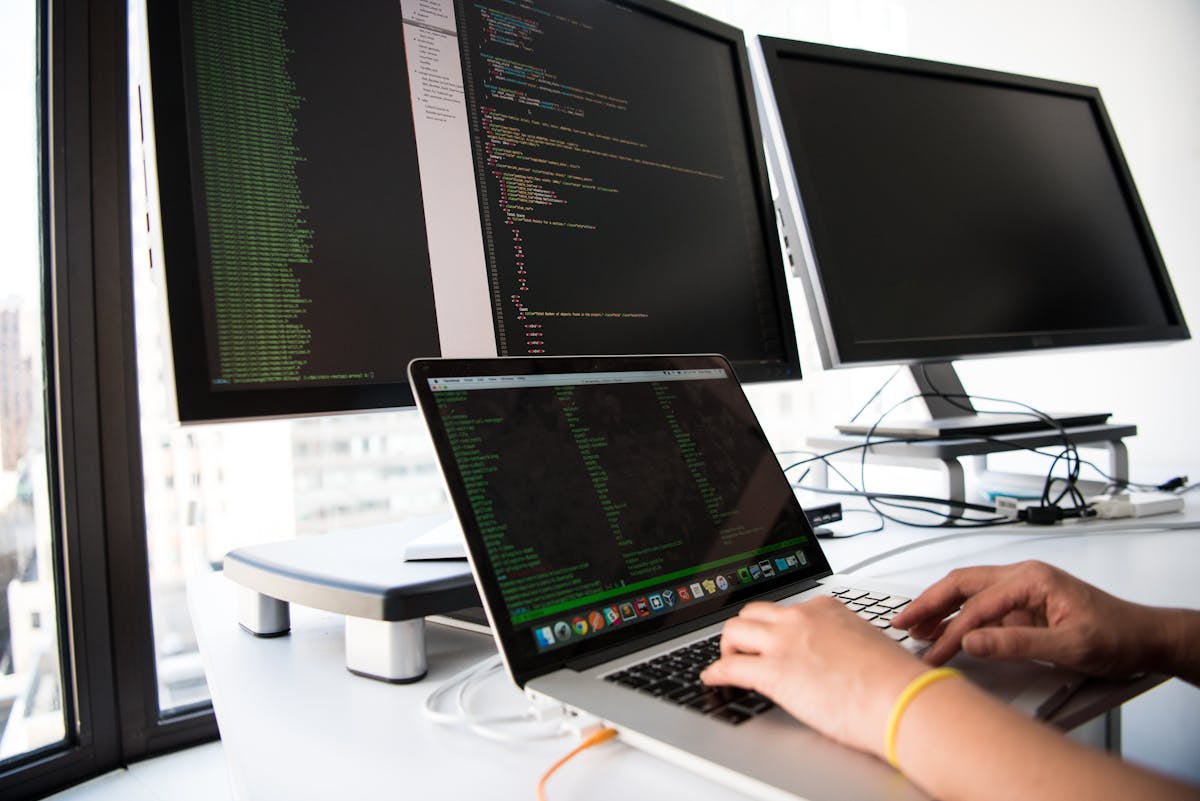
Step 1: Prepare Your Gateway
 Your gateway should be a stable, always-on instance—cloud VPS or home server
Your gateway needs to be accessible from nodes. If running on a cloud server (AWS, DigitalOcean, etc.), ensure the OpenClaw port is reachable. If running locally, you may need port forwarding or a VPN.
Check your gateway status:
openclaw gateway status
Ensure it's running and note the connection details. The gateway generates a pairing token that nodes will use to authenticate.
Generate a new pairing token:
openclaw gateway pairing-token
This creates a time-limited token. You'll enter this on the node device during pairing. Tokens expire after 24 hours for security.
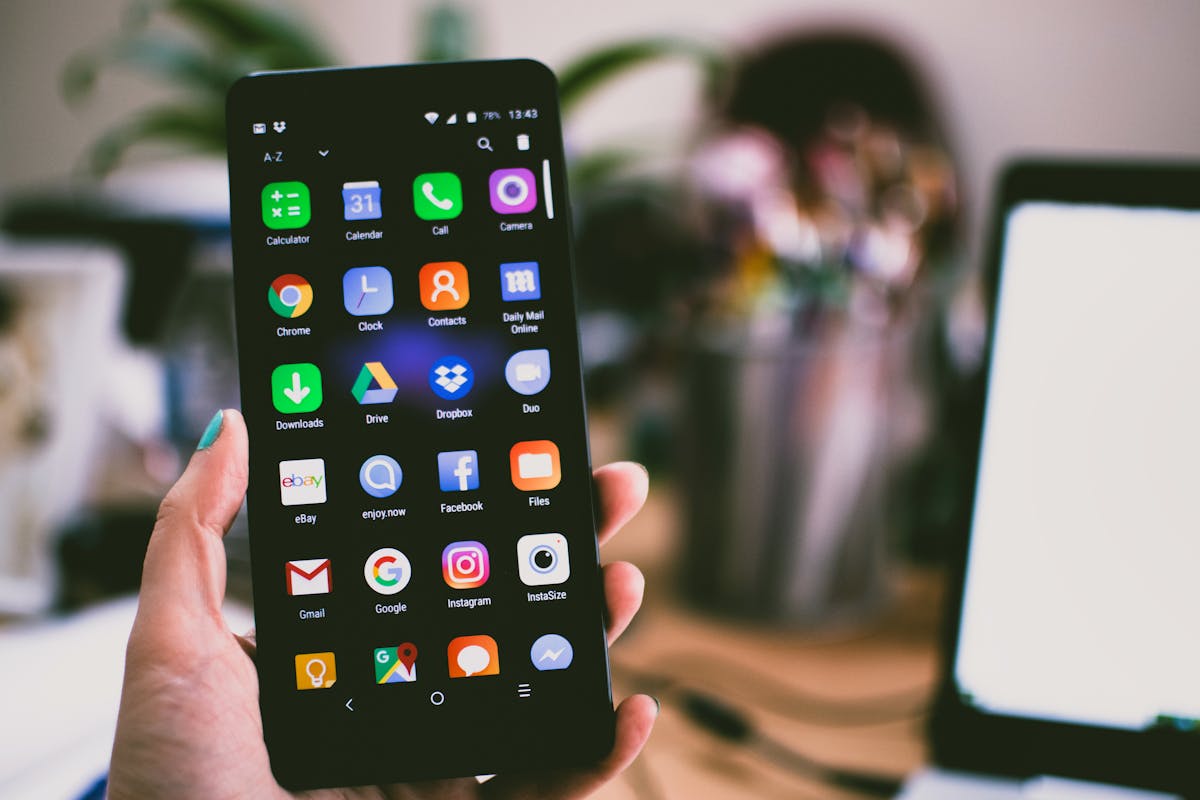
Step 2: Install OpenClaw on the Node Device
 Nodes can be phones (iOS/Android), tablets, desktops (Mac/Windows/Linux), or servers
Install the appropriate OpenClaw client for your node device:
Mobile (iOS/Android):
- Download OpenClaw from the App Store or Google Play
- Grant required permissions (camera, notifications, location)
Desktop (Mac/Windows/Linux):
# Linux/Mac
curl -fsSL https://openclaw.org/install.sh | sh

# Windows
iwr -useb https://openclaw.org/install.ps1 | iex
Server (headless):
# Install node-only mode
openclaw install --node-only
The node-only installation is lightweight—no AI models, just the client that connects to your gateway.
Step 3: Pair the Node with Your Gateway
 Pairing uses a secure token exchange with optional QR code scanning
On the node device, initiate pairing:
Mobile/Desktop GUI:
- Open OpenClaw
- Select "Pair with Gateway"
- Enter gateway URL (e.g.,
https://your-gateway.com:3000) - Enter or scan pairing token
Server/CLI:
openclaw node pair --gateway https://your-gateway.com:3000 --token YOUR_PAIRING_TOKEN
The node authenticates with the gateway and registers its capabilities. You'll see a confirmation on both devices.
Set a friendly name for the node:
openclaw node rename --name "Shaun's iPhone"
This makes it easier to target specific devices in commands.
Step 4: Verify Node Connectivity
 View all paired nodes and their status from the gateway
From your gateway, check connected nodes:
openclaw nodes status
You'll see:
- Node name
- Device type
- Connection status (online/offline)
- Last seen timestamp
- Available capabilities
Test connectivity by sending a notification to the node:
openclaw nodes notify --node "Shaun's iPhone" --title "Test" --body "Connection verified"
If the notification appears on the device, pairing succeeded.
Step 5: Use Camera Capabilities
 Capture photos from node device cameras on command
One of the most powerful node features is remote camera access. Your AI can capture photos from any paired device's camera:
From the gateway (via CLI):
openclaw nodes camera-snap --node "Shaun's iPhone" --facing back
From chat with your AI:
You: Take a picture with my iPhone's back camera
Agent: [Uses camera_snap tool on iPhone node]
I've captured an image. [Shows image]
This enables use cases like:
- Home security monitoring (place old phone as camera)
- Remote workspace checks
- Pet monitoring
- Equipment status verification
Camera captures are instant and transfer directly to the gateway where your AI can analyze them using vision capabilities.
Step 6: Capture Screen Recordings
 Record screens of any paired device for tutorials, debugging, or monitoring
Screen recording captures what's happening on a node's display. Useful for creating tutorials, debugging user issues, or monitoring automated processes:
openclaw nodes screen-record --node "Desktop PC" --duration 30s
The recording transfers to the gateway and can be referenced in chat:
You: Record my desktop for 1 minute and tell me if the build succeeds
Agent: [Starts screen recording]
[After 1 minute]
I can see the build completed successfully at 0:47. The terminal shows "Build passed - 0 errors".
For privacy, screen recording requires explicit permission on most devices. Users must approve recording requests.
Step 7: Execute Remote Commands
 Run shell commands on any paired node securely
Nodes can execute shell commands on behalf of the gateway. This turns any paired device into a remote automation endpoint:
openclaw nodes run --node "Home Server" --command "df -h"
Via AI chat:
You: Check disk space on my home server
Agent: [Uses nodes/run tool]
Your home server has 750GB free on the main drive.
Security: Command execution is disabled by default. Enable it per-node with:
openclaw node config --name "Home Server" --allow-exec true
Only enable for trusted devices. Consider using restricted shells or command whitelists for added security.
Step 8: Get Location Data
 Track device locations with configurable accuracy and privacy controls
Nodes can report their physical location. Useful for:
- Finding lost devices
- Location-based automation triggers
- Travel tracking
- Asset management
Request location:
openclaw nodes location-get --node "Shaun's iPhone"
Via AI:
You: Where is my phone?
Agent: [Uses location_get tool]
Your iPhone is at 123 Main St, San Francisco, CA. Last updated 2 minutes ago.
Configure location accuracy (coarse/balanced/precise) per node to balance battery life and privacy.
Step 9: Build Cross-Device Automation
 Chain actions across multiple nodes for powerful automation workflows
The real power emerges when combining capabilities across nodes. Example workflows:
Home security monitor:
When I say "check the house":
1. Capture photo from kitchen camera (old iPhone)
2. Capture photo from front door camera (old Android)
3. Check server logs for alerts
4. Summarize status
Remote work setup:
When I say "work mode":
1. Send notification to my phone (silence mode reminder)
2. Start screen recording on desktop (time tracking)
3. Check calendar for today's meetings
4. Summarize my schedule
Content creation pipeline:
When I say "record tutorial":
1. Screen record my desktop
2. Capture phone screen for mobile view
3. Automatically upload to server
4. Generate transcript
5. Create blog post draft
Configure these as reusable workflows in your OpenClaw automation scripts.
Step 10: Manage Node Security and Privacy
 Configure granular permissions and security policies for each node
Node pairing requires careful security consideration. Follow these best practices:
Network Security:
- Use HTTPS for gateway connections
- Enable firewall rules to restrict gateway access
- Consider VPN for sensitive nodes
- Rotate pairing tokens regularly
Permission Management:
# Review node permissions
openclaw node permissions --name "iPhone"

# Revoke specific capability
openclaw node permissions --name "iPhone" --disable camera

# Completely unpair
openclaw node unpair --name "iPhone"
Audit Logging:
# View node activity
openclaw nodes logs --name "iPhone" --hours 24
Track all node commands for security auditing. Log who requested what action and when.
Privacy Controls:
- Disable capabilities you don't need
- Set location accuracy to minimum required
- Review camera/screen capture frequency
- Auto-delete old captures
Advanced: Building a Node Network
 Scale to dozens of nodes across multiple locations
For advanced deployments, OpenClaw supports node hierarchies and delegation:
Node Groups: Group related nodes (all home devices, all servers, all mobile devices) and target groups in commands:
openclaw nodes notify --group "home-devices" --message "Security alert"
Node-to-Node Communication: Enable direct node communication for low-latency use cases:
openclaw node config --name "Server1" --peer "Server2"
Offline Resilience: Nodes can queue commands when offline and execute when reconnected. Configure retry policies and timeout handling.
Conclusion
 Node pairing transforms OpenClaw into a distributed AI system controlling all your devices
Node pairing extends your AI assistant's reach beyond a single machine. Whether you're automating home security with old phones, managing a fleet of servers, or building complex cross-device workflows, nodes give your AI physical presence in multiple locations.
Start simple: pair one phone or tablet and experiment with camera access and notifications. As you discover use cases, expand to more nodes and build automation workflows. The most powerful implementations combine multiple capabilities—location + camera + commands—into intelligent, context-aware automation.
For more OpenClaw automation guides, check out building cron job automations, browser automation workflows, and subagent delegation patterns. The OpenClaw nodes documentation covers advanced features like node scripting and custom capability development.
Ready to build your AI-controlled device network? Start by pairing your phone—that's where the "wow" moments happen when your AI can see through your camera and send you smart notifications.
More Articles
The Ultimate OpenClaw AWS Setup Guide
The definitive guide to setting up OpenClaw on AWS. Includes spot instance configuration, cost optimization, and step-by-step instructions.
Building AI Workflows with Tool Chaining in OpenClaw
Master the art of chaining tools and function calls to build powerful multi-step AI automation workflows—from data extraction to content generation and deployment.
Cost Optimization Guide for Self-Hosted AI Assistants: Run Claude on a Budget
Practical strategies to reduce API costs for self-hosted AI assistants—smart model routing, caching, batching, and OpenClaw-specific optimizations to run Claude affordably.