How to Set Up OpenClaw on a VPS: The Complete Guide
OpenClaw is everything I was hoping AI would be — a personal assistant that actually does things, not just talks about them. It runs 24/7 on your server, remembers everything you tell it, connects to your apps, and proactively helps you get work done.
In this guide, we'll set up OpenClaw on a VPS (Virtual Private Server) so it runs continuously without needing your laptop open. We'll connect it to Telegram for easy mobile access, add skills for extended functionality, link Google services, and set up scheduled tasks for true automation.
📺 Based on: Clawdbot (OpenClaw) is everything I was hoping A.I. would be by Dreams of Code (148K views)
Why a VPS?
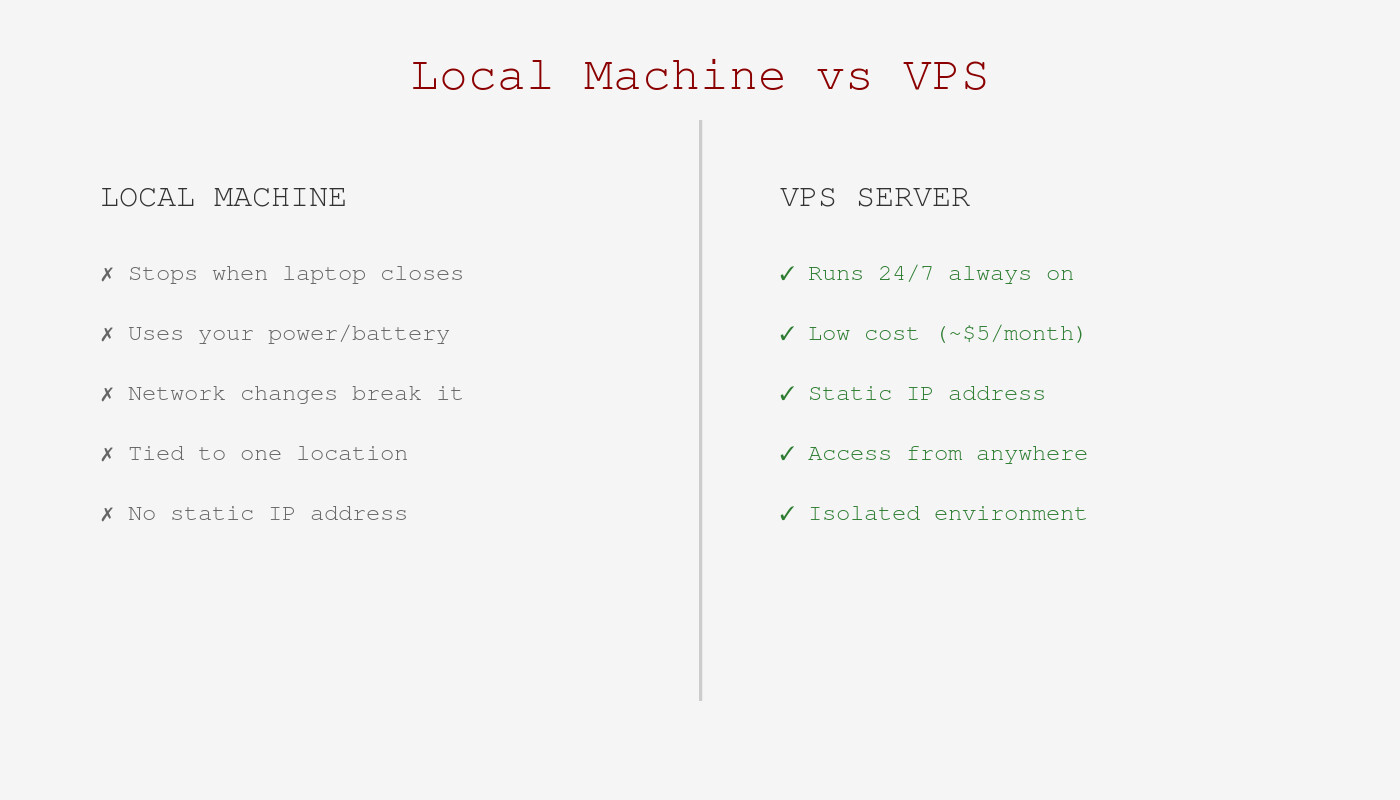 A VPS gives you 24/7 availability and reliable access from anywhere.
Running OpenClaw locally on your laptop works great for testing, but has limitations:
- Stops when you close your laptop — no 24/7 availability
- Requires your machine to be always on — burns energy, creates heat
- Network changes break connections — mobile hotspots, coffee shop WiFi, etc.
A VPS solves all of these. For about $5-10/month, you get a server that:
- Runs 24/7 — always available via Telegram/Discord
- Has a static IP — reliable connections
- Uses minimal resources — OpenClaw is lightweight
- Keeps your data separate — isolated from your personal machine
Step 1: Get a VPS from Hostinger
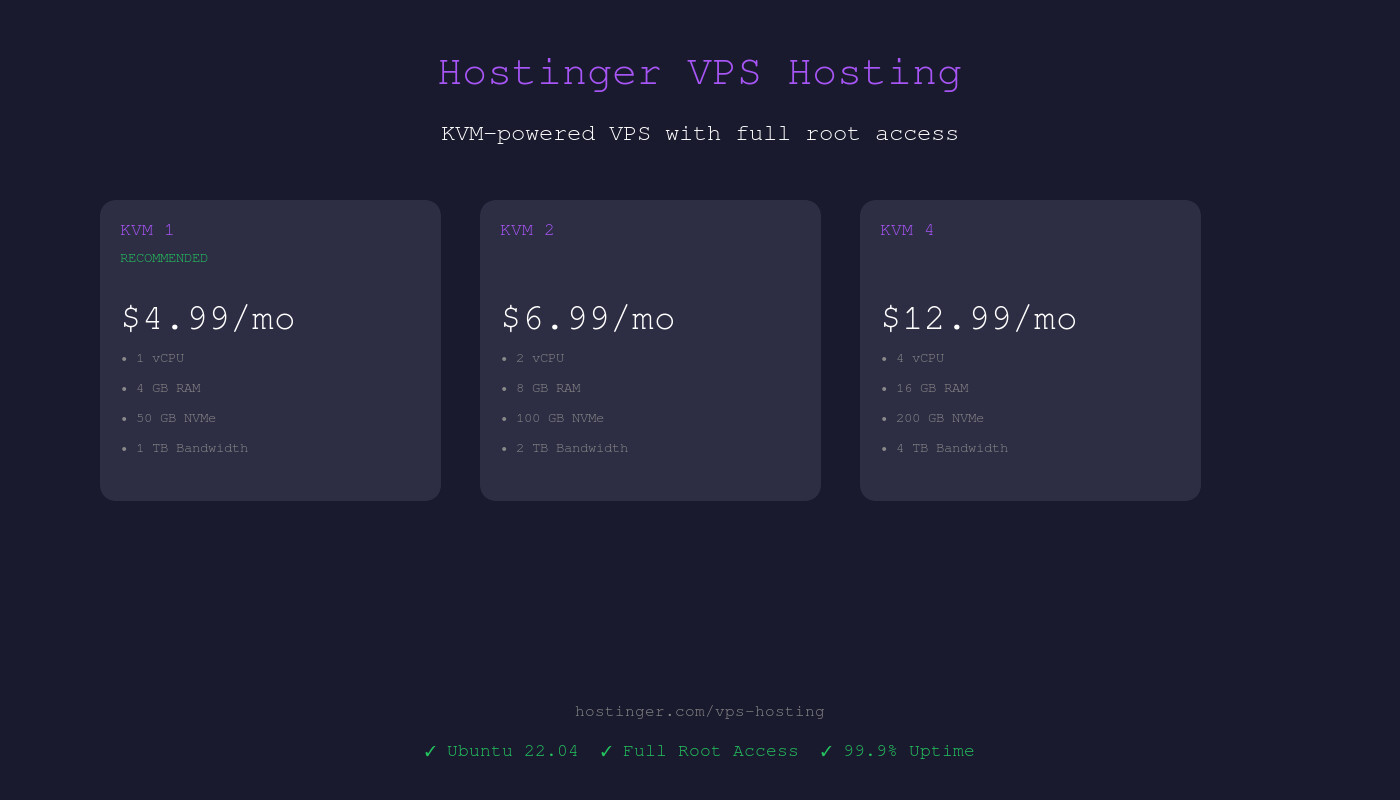 Hostinger's KVM 1 plan at ~
$5/month is perfect for OpenClaw.
Hostinger offers affordable VPS hosting that's perfect for OpenClaw. Here's how to get started:
- Go to hostinger.com and navigate to VPS Hosting
- Select the KVM 1 plan (cheapest option, ~
$5/month) — it's more than enough for OpenClaw - Choose Ubuntu 22.04 as your operating system
- Complete the purchase and wait for your server to provision (usually 1-2 minutes)
Once provisioned, you'll receive:
- Server IP address
- Root password (or SSH key if you chose that option)
Alternative VPS providers: DigitalOcean, Linode, Vultr, and Hetzner all work great too. Any Ubuntu 22.04 VPS with at least 1GB RAM will do.
Step 2: Connect to Your VPS via SSH
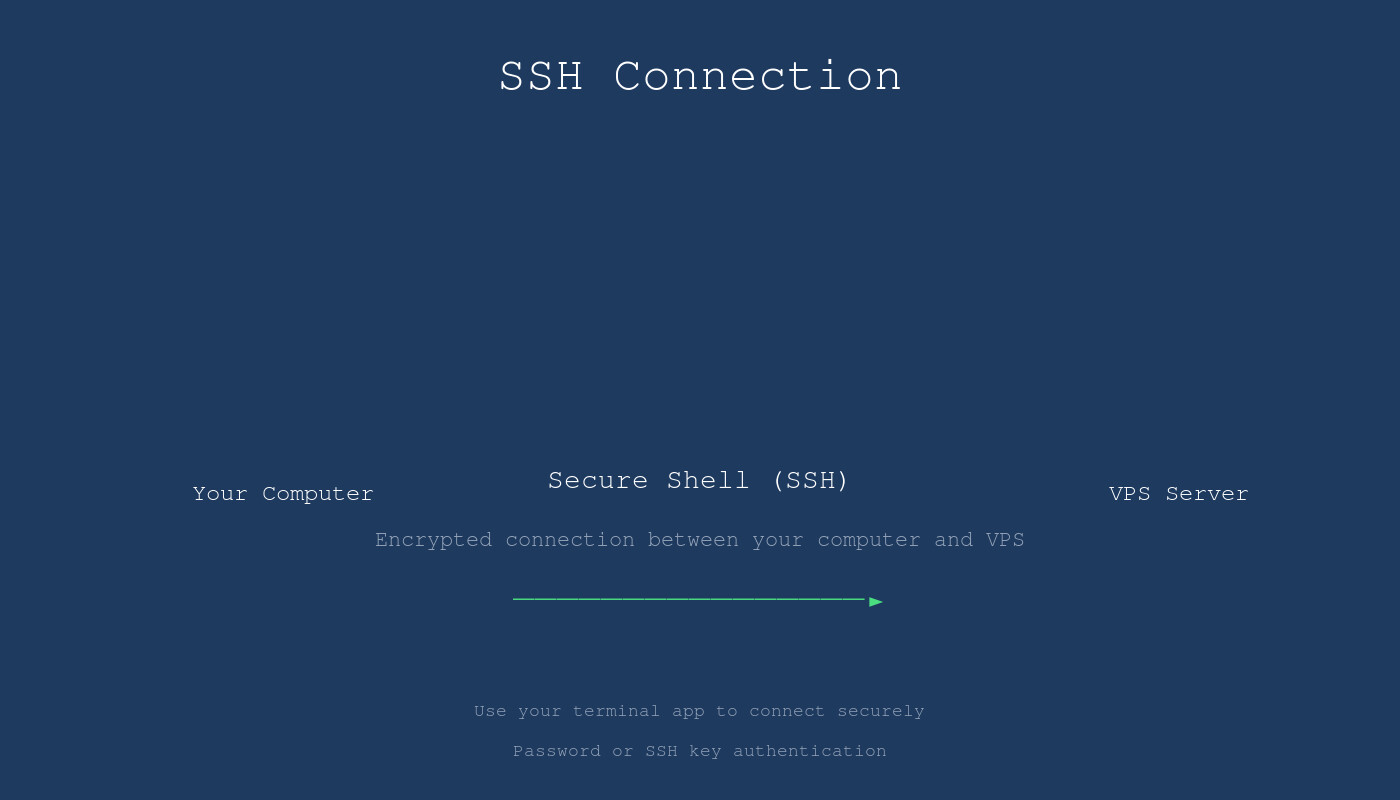 Connecting to your VPS via SSH — you'll see the Ubuntu welcome message.
Open your terminal and connect to your new server:
ssh root@YOUR_SERVER_IP
Enter your password when prompted. You should see the Ubuntu welcome message.
First time setup — update the system:
apt update && apt upgrade -y
This ensures you have the latest security patches.
Step 3: Install OpenClaw
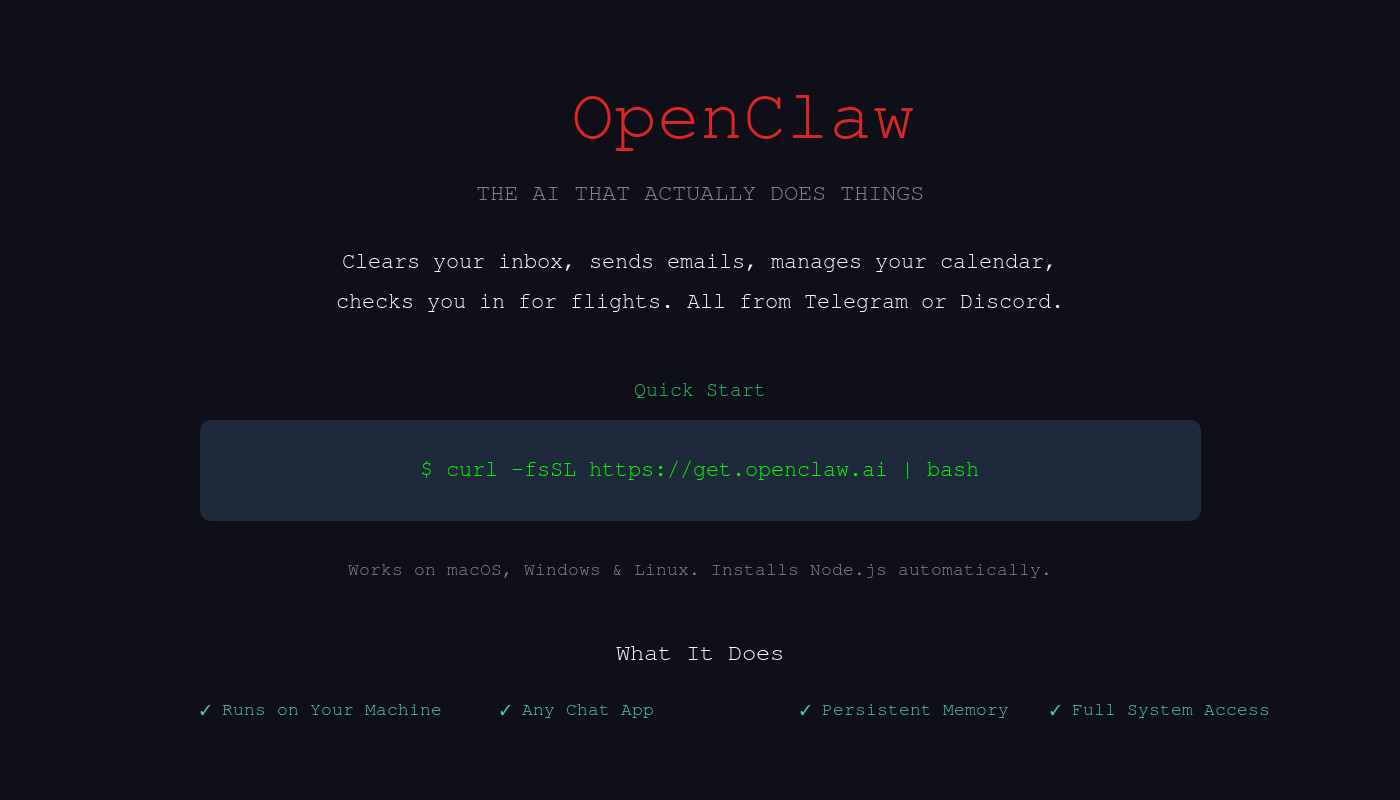 OpenClaw's homepage — one curl command installs everything.
With your VPS ready, install OpenClaw with the one-line installer:
curl -fsSL https://get.openclaw.ai | bash
The installer will:
- Install Node.js if needed
- Install OpenClaw globally
- Launch the onboarding wizard
Step 4: Complete the Onboarding
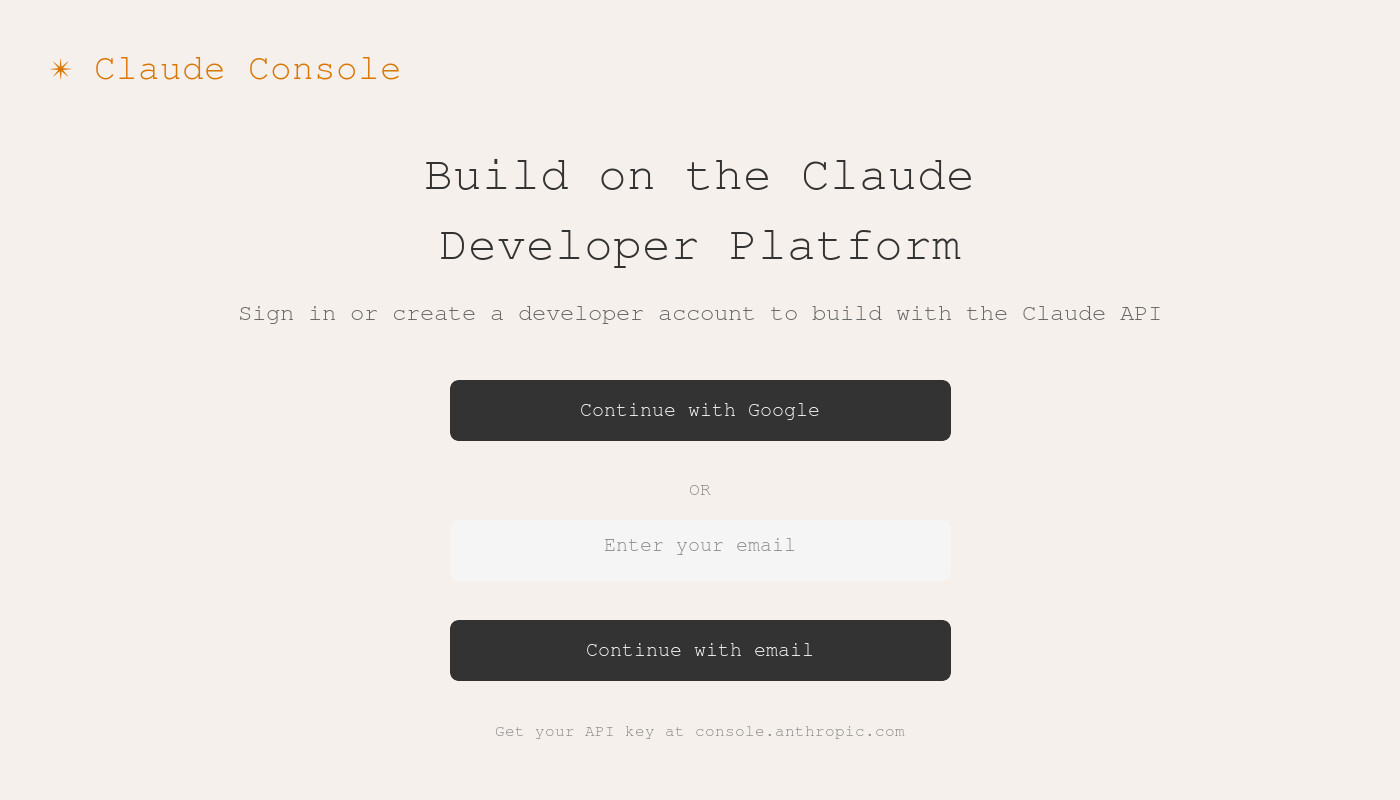 Get your API key from the Claude Console to power OpenClaw.
The onboarding wizard walks you through initial configuration:
- Choose QuickStart — fastest path to a working setup
- Select your AI provider — Anthropic (Claude) is recommended
- Enter your API key — get one from console.anthropic.com
- Choose your model — Claude Sonnet for most tasks, Opus for complex work
- Select a chat channel — we'll use Telegram (covered next)
Step 5: Set Up Telegram Bot
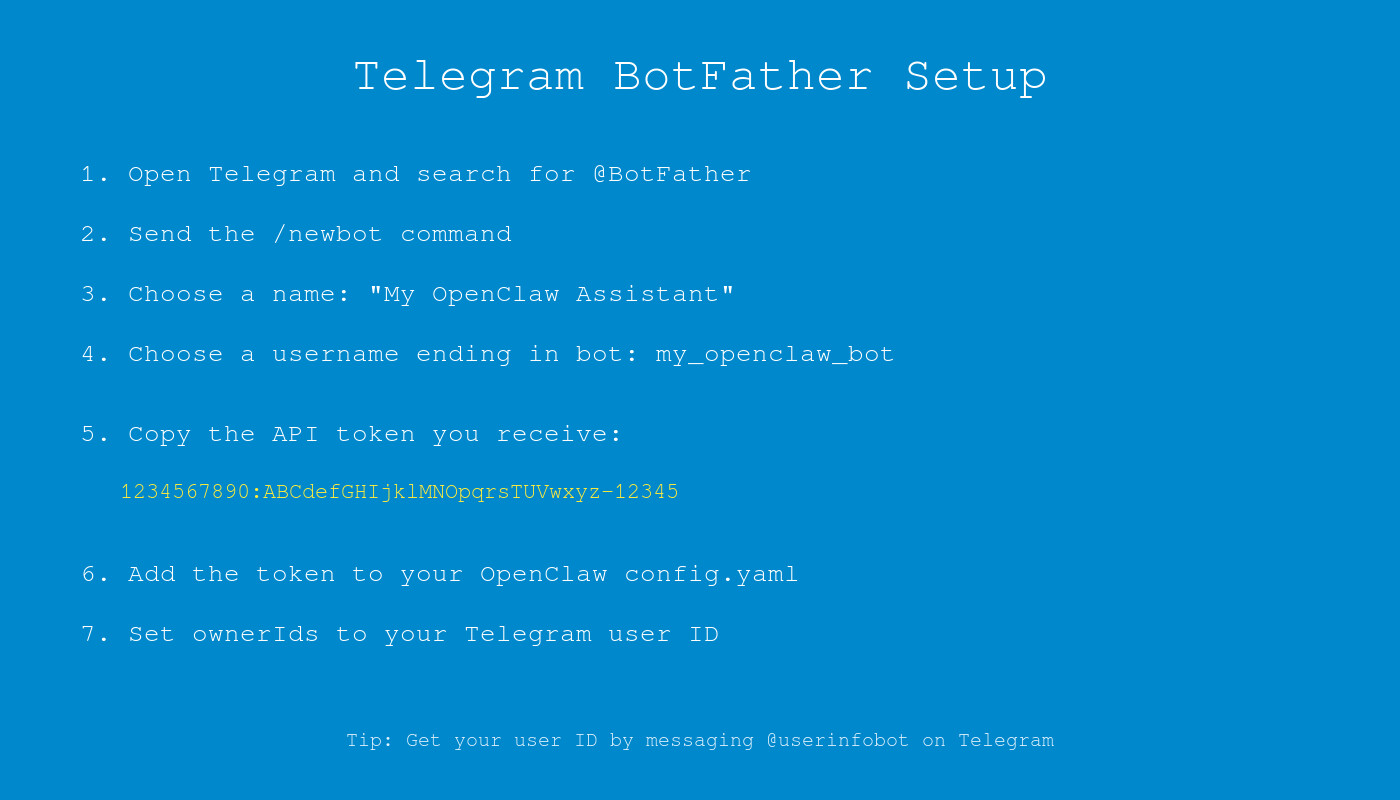 Create your bot with BotFather and get your API token.
Telegram is the most popular way to interact with OpenClaw. Here's how to connect it:
Create a Telegram Bot:
- Open Telegram and search for @BotFather
- Send
/newbotand follow the prompts - Give your bot a name (e.g., "My OpenClaw")
- Give it a username ending in
bot(e.g.,my_openclaw_bot) - Copy the API token BotFather gives you
Add to OpenClaw config:
Edit your OpenClaw config file:
nano ~/.openclaw/config.yaml
Add your Telegram configuration:
channels:
  telegram:
    token: "YOUR_BOT_TOKEN_HERE"
    ownerIds:
      - YOUR_TELEGRAM_USER_ID
Get your Telegram user ID: Message @userinfobot on Telegram — it will reply with your ID.
Restart OpenClaw to apply the changes:
openclaw gateway restart
Now open Telegram, find your bot, and send it a message. You should get a response!
Step 6: Start the Gateway as a Service
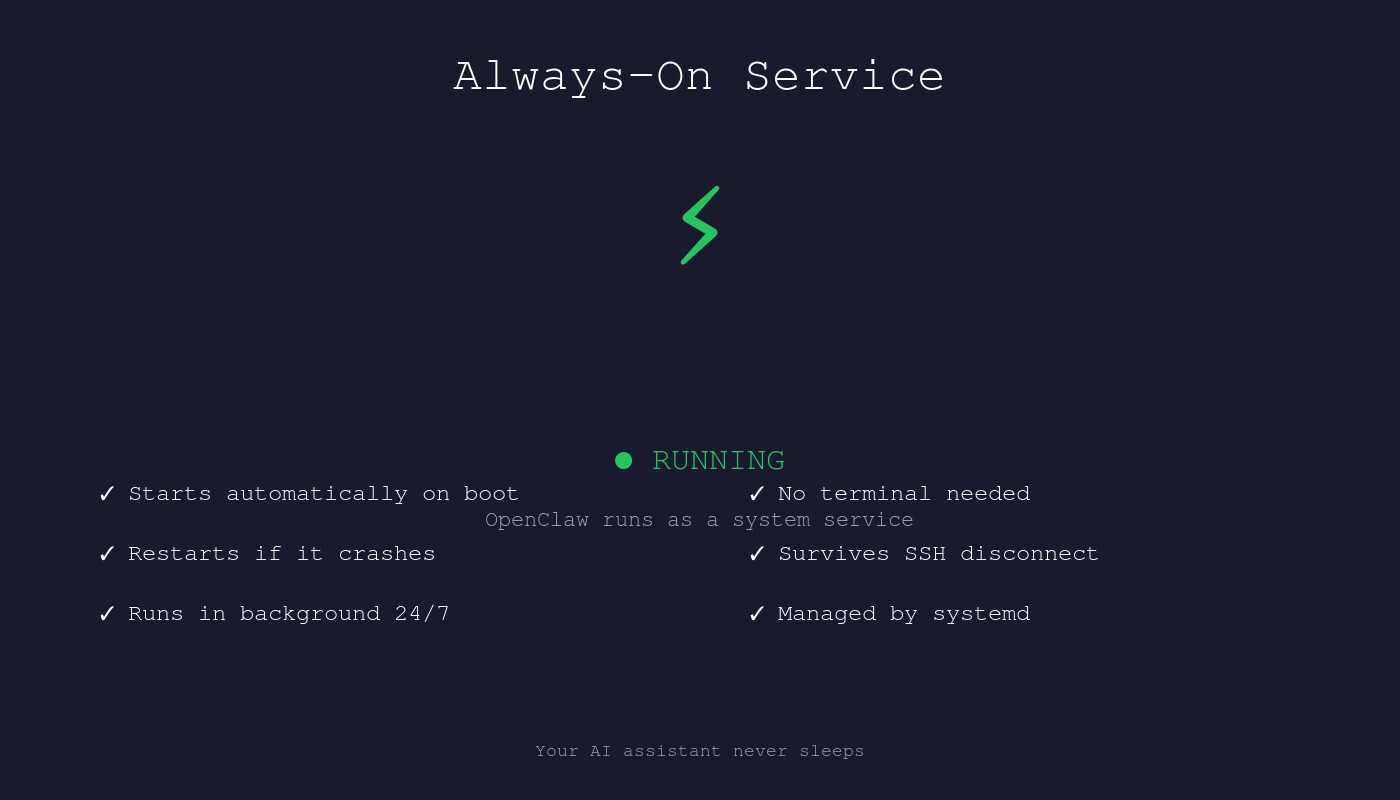 OpenClaw running as a systemd service — it starts automatically on boot.
To keep OpenClaw running 24/7 (even after you close SSH), set it up as a system service:
openclaw gateway start --daemon
Or for more control, create a systemd service:
sudo nano /etc/systemd/system/openclaw.service
Add this content:
[Unit]
Description=OpenClaw Gateway
After=network.target

[Service]
Type=simple
User=root
WorkingDirectory=/root/.openclaw
ExecStart=/usr/bin/openclaw gateway start
Restart=always
RestartSec=10

[Install]
WantedBy=multi-user.target
Enable and start the service:
sudo systemctl enable openclaw
sudo systemctl start openclaw
Now OpenClaw will automatically start on boot and restart if it crashes.
Step 7: Add Skills for Extended Functionality
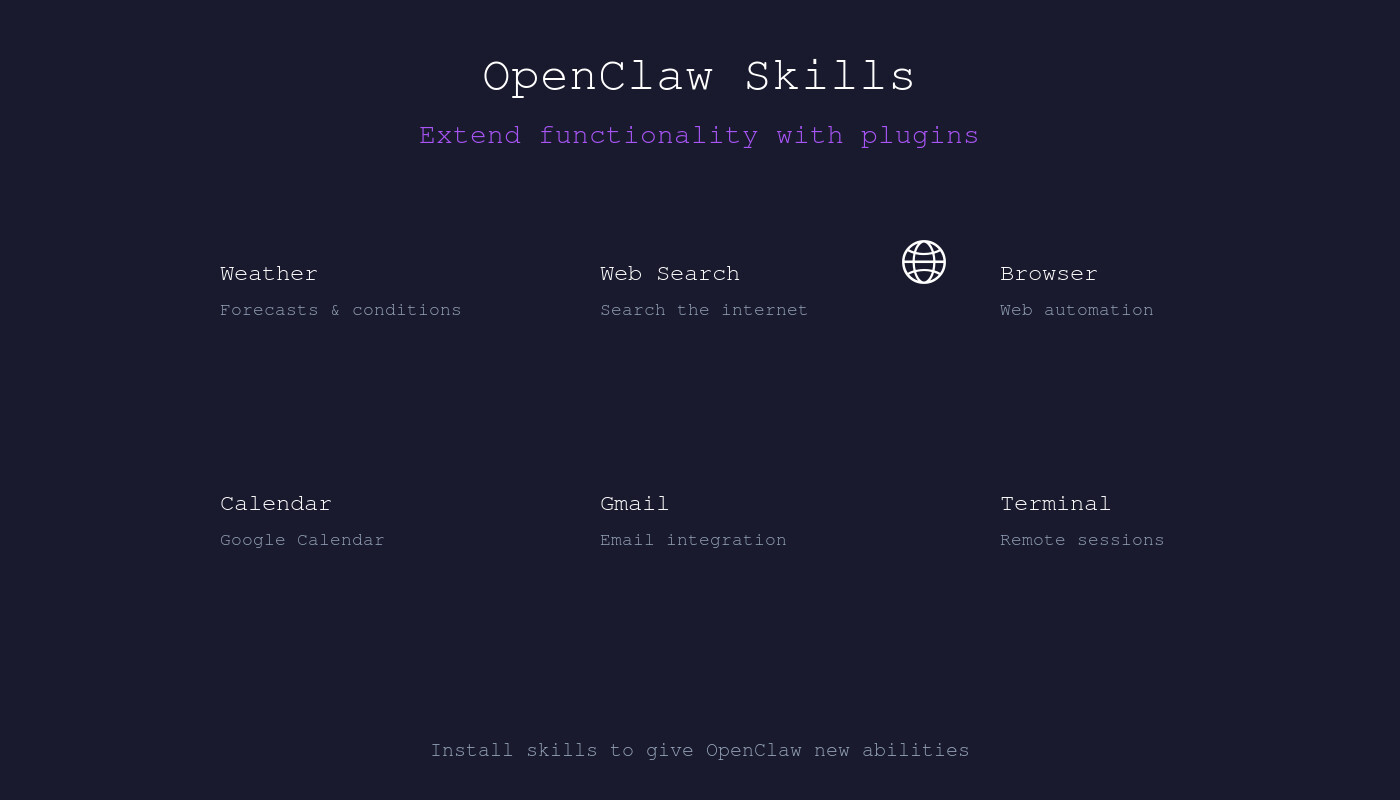 Skills extend OpenClaw's capabilities — weather, search, calendar, and more.
Skills give OpenClaw new abilities. Check available skills:
openclaw skills list
Install a skill (e.g., weather):
openclaw skills add weather
Popular skills include:
- weather — get forecasts and current conditions
- web-search — search the internet
- browser — control a web browser
- calendar — manage Google Calendar
After adding skills, restart the gateway:
openclaw gateway restart
Step 8: Connect Google Services
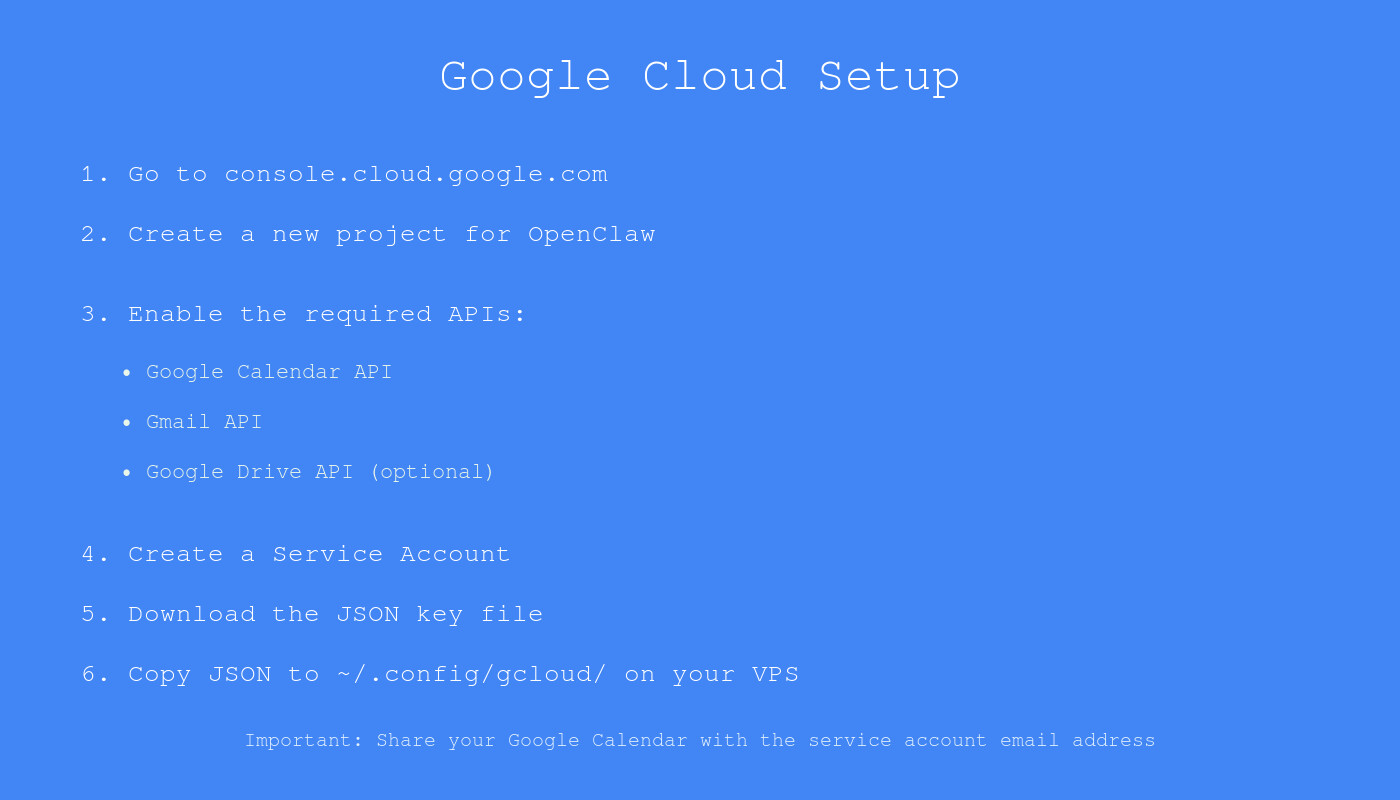 Set up a Google Cloud service account to connect Calendar, Gmail, and Drive.
OpenClaw can integrate with Google Calendar, Gmail, and other Google services via a service account.
Create a Google Cloud Project:
- Go to console.cloud.google.com
- Create a new project
- Enable the APIs you need (Calendar API, Gmail API, etc.)
- Create a Service Account and download the JSON key
- Share your Google Calendar with the service account email
Add to OpenClaw:
Copy your service account JSON to the server:
scp ~/Downloads/service-account.json root@YOUR_SERVER_IP:~/.config/gcloud/
Configure OpenClaw to use it by adding the path to your config.
Now you can tell OpenClaw things like:
- "What's on my calendar today?"
- "Schedule a meeting for tomorrow at 2pm"
- "Check my Gmail for unread messages"
Step 9: Set Up Scheduled Tasks (Cron Jobs)
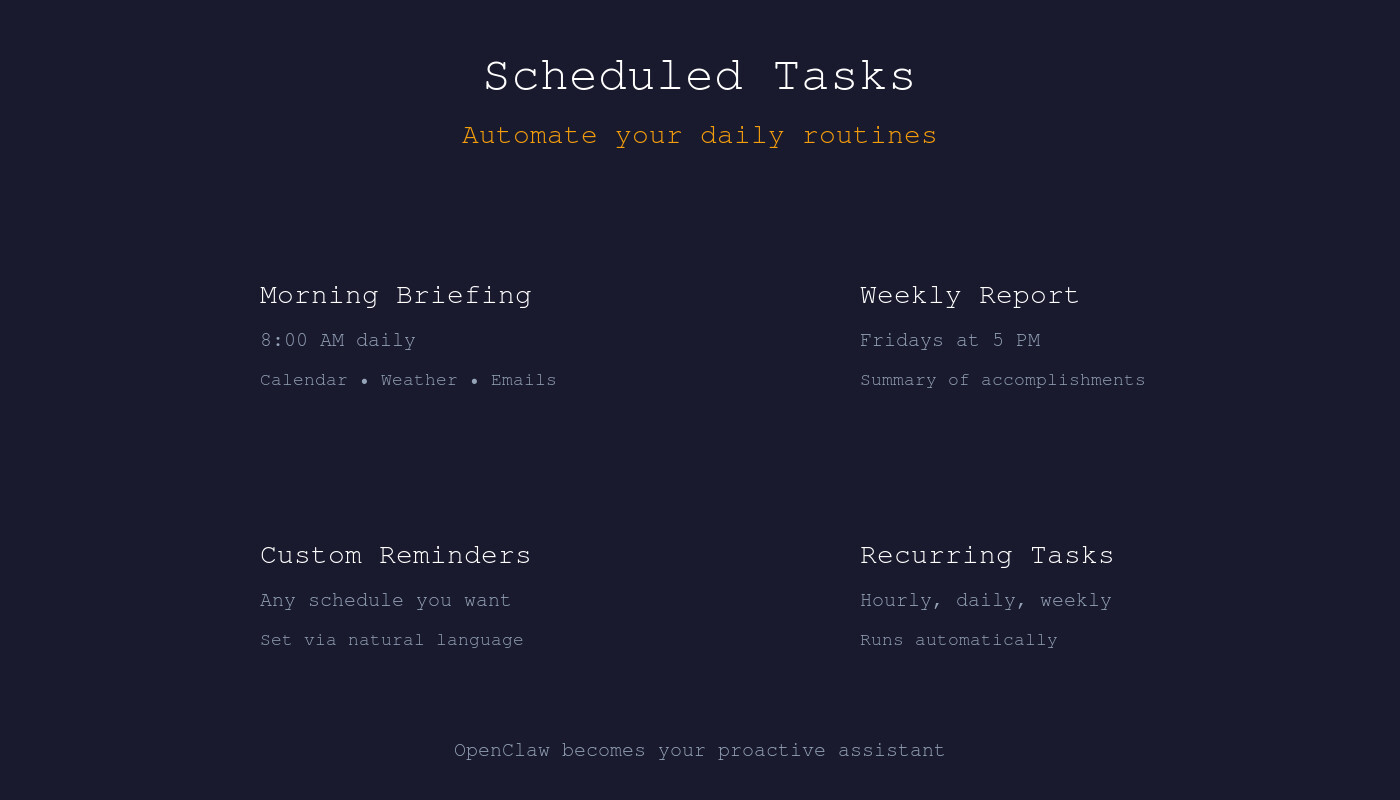 Schedule automatic tasks — morning briefings, weekly reports, and more.
OpenClaw can run tasks automatically on a schedule. This is where it goes from assistant to autonomous agent.
Example: Daily morning briefing
Tell OpenClaw via Telegram:
"Every morning at 8am, send me a summary of my calendar, any urgent emails, and the weather forecast."
OpenClaw will create a cron job that runs automatically.
Example: Weekly report
"Every Friday at 5pm, compile a summary of what we accomplished this week and send it to me."
You can also manage cron jobs directly in the config:
cron:
  jobs:
    - name: "Morning Briefing"
      schedule: "0 8 * * *"
      task: "Send me today's calendar, weather, and any urgent emails"
Step 10: Test Your Setup
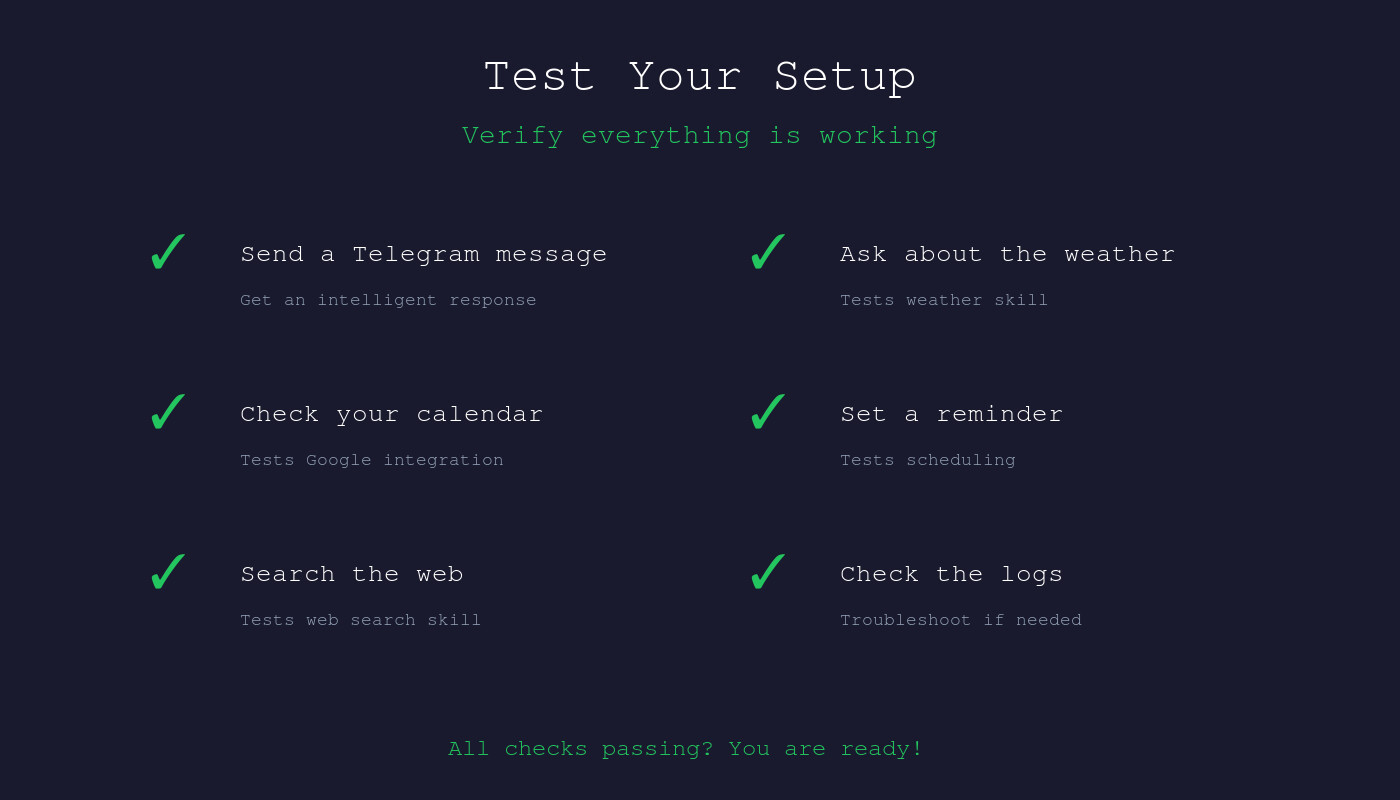 Run through these tests to verify your setup is working correctly.
Now that everything is configured, test the full system:
- Send a message via Telegram — should get a response
- Ask about the weather — tests the weather skill
- Ask about your calendar — tests Google integration
- Set a reminder — tests cron/scheduling
- Ask it to search the web — tests web search skill
If something doesn't work, check the logs:
openclaw gateway logs
Tips for Success
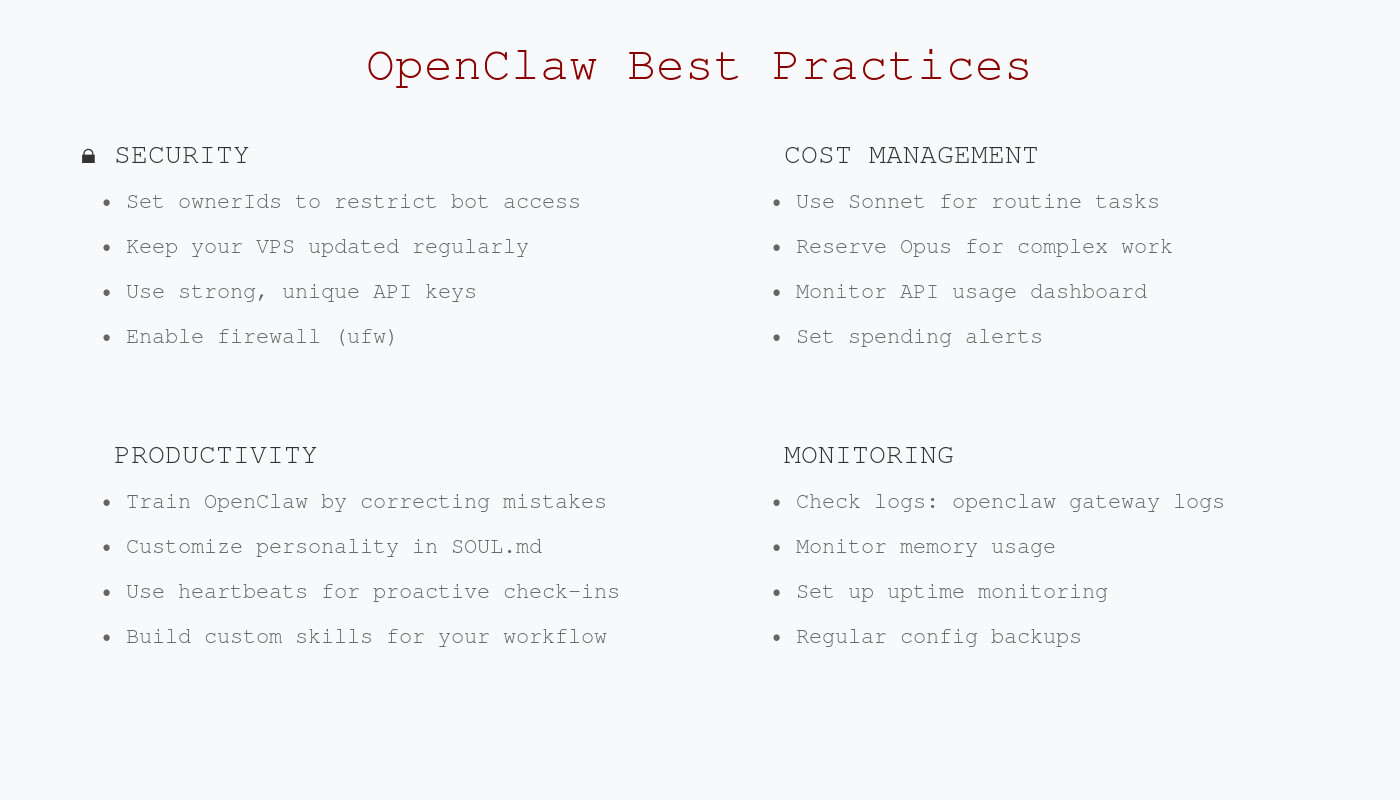 Follow these best practices for security, cost management, and productivity.
Security:
- Use a strong API key
- Set
ownerIdsto restrict who can use your bot - Keep your VPS updated with
apt update && apt upgrade
Cost management:
- Start with Claude Sonnet (cheaper) for routine tasks
- Use Opus only for complex work
- Monitor your Anthropic usage dashboard
Productivity:
- Train your bot by correcting its mistakes
- Create custom instructions in
SOUL.md - Use heartbeats for proactive check-ins
Conclusion
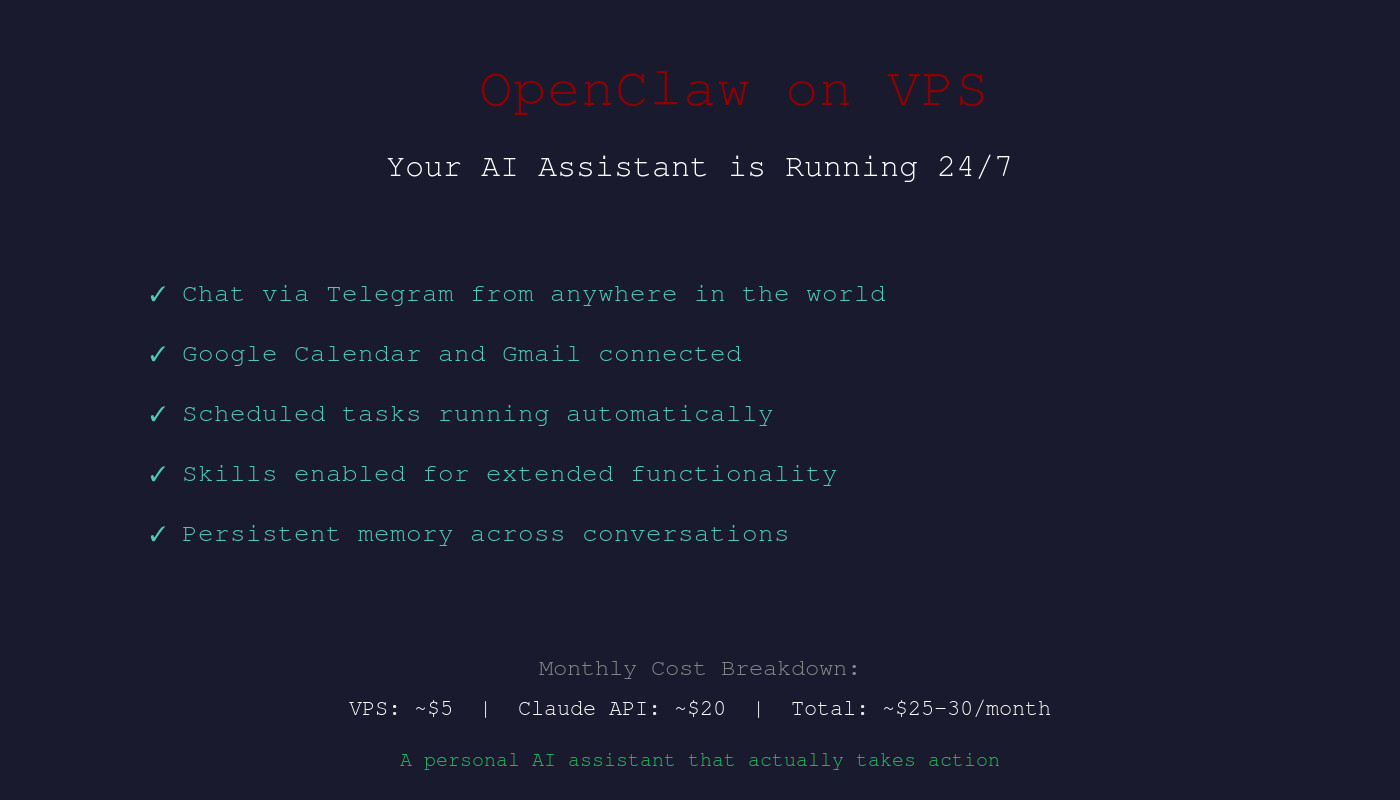 Your AI assistant is now running 24/7 and ready to help.
You now have a fully functional OpenClaw instance running 24/7 on a VPS. It can:
- Chat with you via Telegram from anywhere
- Access your Google Calendar and Gmail
- Run scheduled tasks automatically
- Use skills for weather, web search, and more
The total cost is roughly:
- VPS: ~
$5-10/month - Claude API: ~
$20/month with moderate usage - Total: ~
$25-30/month
For that price, you get a personal AI assistant that's always available and actually takes action — not just another chatbot.
📺 Watch the full video: Clawdbot (OpenClaw) is everything I was hoping A.I. would be by Dreams of Code
Related guides:
- Quick AWS Setup Tutorial — alternative cloud hosting
- Hosting Options Comparison — find the cheapest option
- Safe VM Setup Guide — run locally with isolation
Happy automating! 🚀
More Articles
The Ultimate OpenClaw AWS Setup Guide
The definitive guide to setting up OpenClaw on AWS. Includes spot instance configuration, cost optimization, and step-by-step instructions.
Building AI Workflows with Tool Chaining in OpenClaw
Master the art of chaining tools and function calls to build powerful multi-step AI automation workflows—from data extraction to content generation and deployment.
Cost Optimization Guide for Self-Hosted AI Assistants: Run Claude on a Budget
Practical strategies to reduce API costs for self-hosted AI assistants—smart model routing, caching, batching, and OpenClaw-specific optimizations to run Claude affordably.