How to Run OpenClaw Safely: The Beginner's Guide to Virtual Machine Setup
OpenClaw is one of the most powerful AI agents you can run — it lives on your computer, controls your apps, writes code, sends emails, and automates your entire workflow. But let's be honest: giving an AI full access to your machine is terrifying. What if it deletes the wrong files? What if it goes rogue on your real data?
In this guide, we'll show you the safest, most beginner-friendly way to set up OpenClaw — running it inside a virtual machine so it literally cannot touch your real files. Then we'll connect it to 8,000+ apps through Zapier MCP, giving it hands to work across Gmail, Notion, Slack, and more — all without risking your security.
📺 Watch the full video tutorial: Moltbot: The Safe & Easy Way (Beginner Tutorial) by Creator Magic (97K views)
The Security Problem (And Why VMs Solve It)
 OpenClaw needs system access to be useful — but that same access creates risk.
Here's the fundamental tension with AI agents like OpenClaw: to be useful, they need access to your system. They need to read files, run commands, open browsers, and interact with apps. But that same access means a single bad prompt or hallucination could wreak havoc on your real data.
The solution? Run OpenClaw inside a virtual machine (VM).
A virtual machine is essentially a computer running inside your computer — a "Mac Inception," as Creator Magic calls it. OpenClaw gets full access to the VM, which means it can do everything it needs to do. But if something goes wrong, the damage is contained entirely within that virtual sandbox.
This approach gives you:
- Full AI agent capabilities — OpenClaw can run commands, write code, manage files, and automate tasks
- Zero risk to your real system — everything is sandboxed inside the VM
- Easy reset — if something goes wrong, just delete the VM and start fresh
Step 1: Download and Install UTM
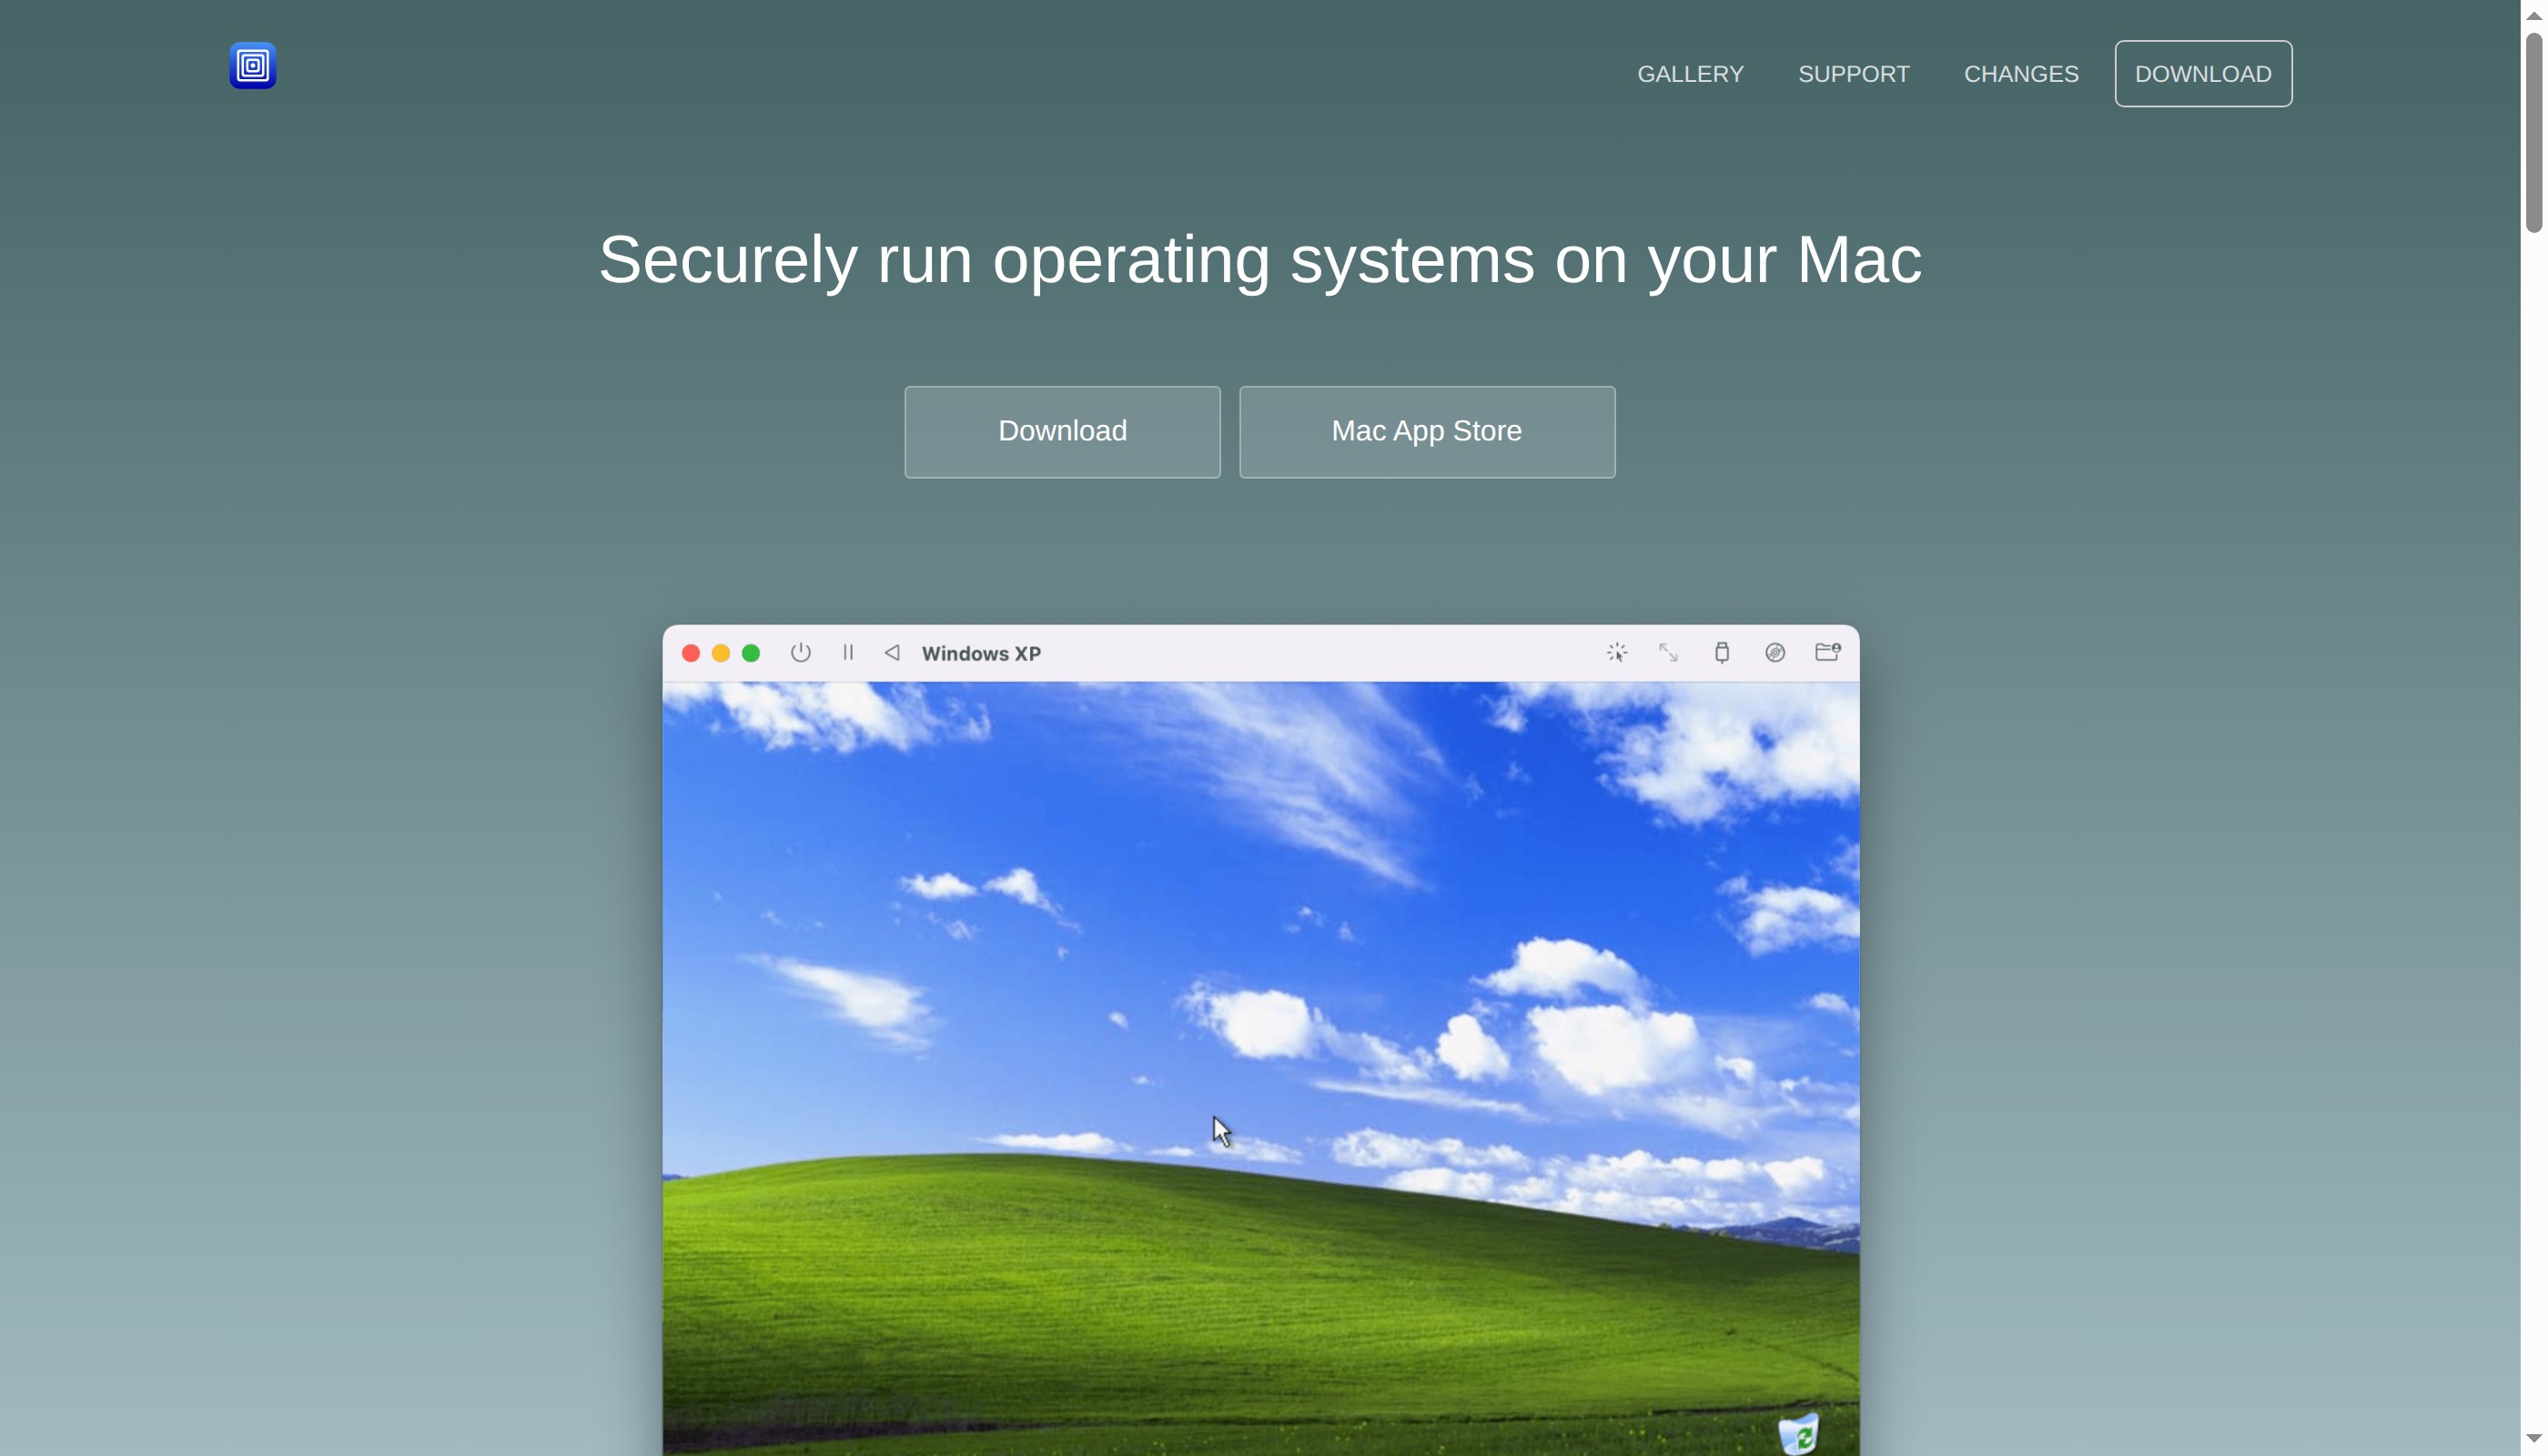 UTM is a free, open-source virtual machine app that runs Windows, Linux, and macOS on Apple Silicon.
UTM is a free, open-source virtual machine app for Mac. It lets you run a complete macOS installation inside a window on your existing Mac.
Head to mac.getutm.app and download UTM. It's completely free from the website (there's also a paid App Store version that's identical but supports the developers). Install it like any other Mac app — drag it to your Applications folder.
Step 2: Download a macOS IPSW File
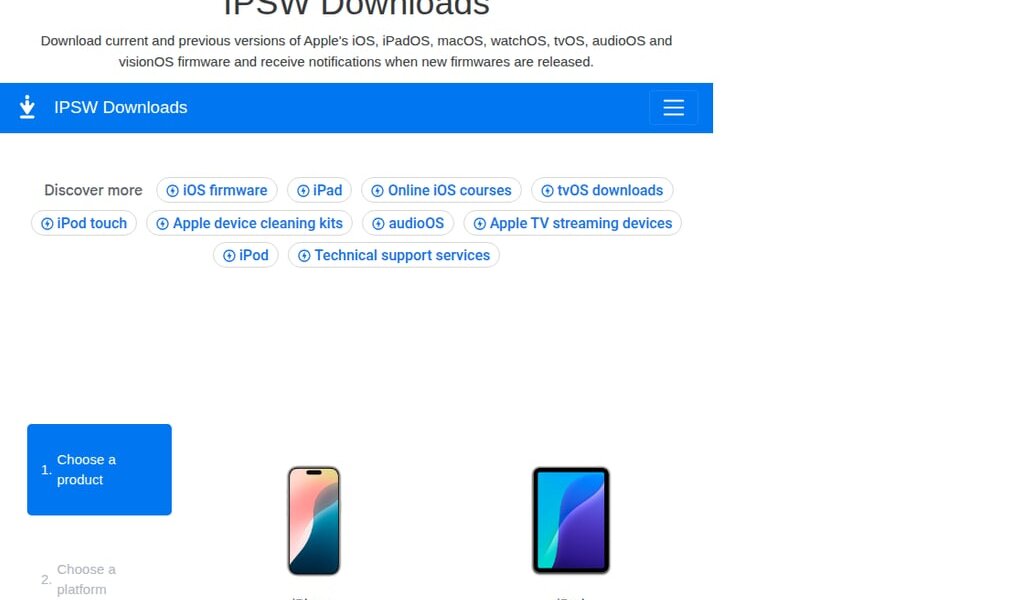 IPSW Downloads — your source for macOS restore images.
You'll need a macOS restore image (IPSW file) to install in your VM. You can get the latest version from Apple's developer resources or use a site like ipsw.me.
Download the IPSW that matches your Mac's architecture (Apple Silicon for M1/M2/M3 Macs).
Step 3: Create Your Virtual Machine
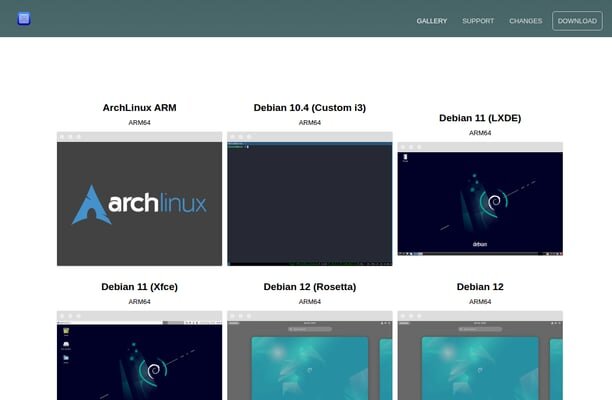 UTM supports macOS, Windows, Linux, and many other operating systems.
Open UTM and create a new virtual machine:
- Click Create a New Virtual Machine
- Select Virtualize (not Emulate — this is faster on Apple Silicon)
- Choose macOS
- Select your downloaded IPSW file
- Allocate resources:
- RAM: 8 GB (minimum 4 GB, but 8 GB is recommended)
- CPU Cores: 4 cores (adjust based on your Mac's total — leave some for the host)
- Storage: 64 GB (enough for macOS + OpenClaw + workspace)
- Click Save and then Start
The VM will boot and walk you through the standard macOS setup — choose language, create a user account, skip the Apple ID if you like. In about 10-15 minutes, you'll have a fresh macOS desktop running inside a window.
Step 4: Install OpenClaw with One Command
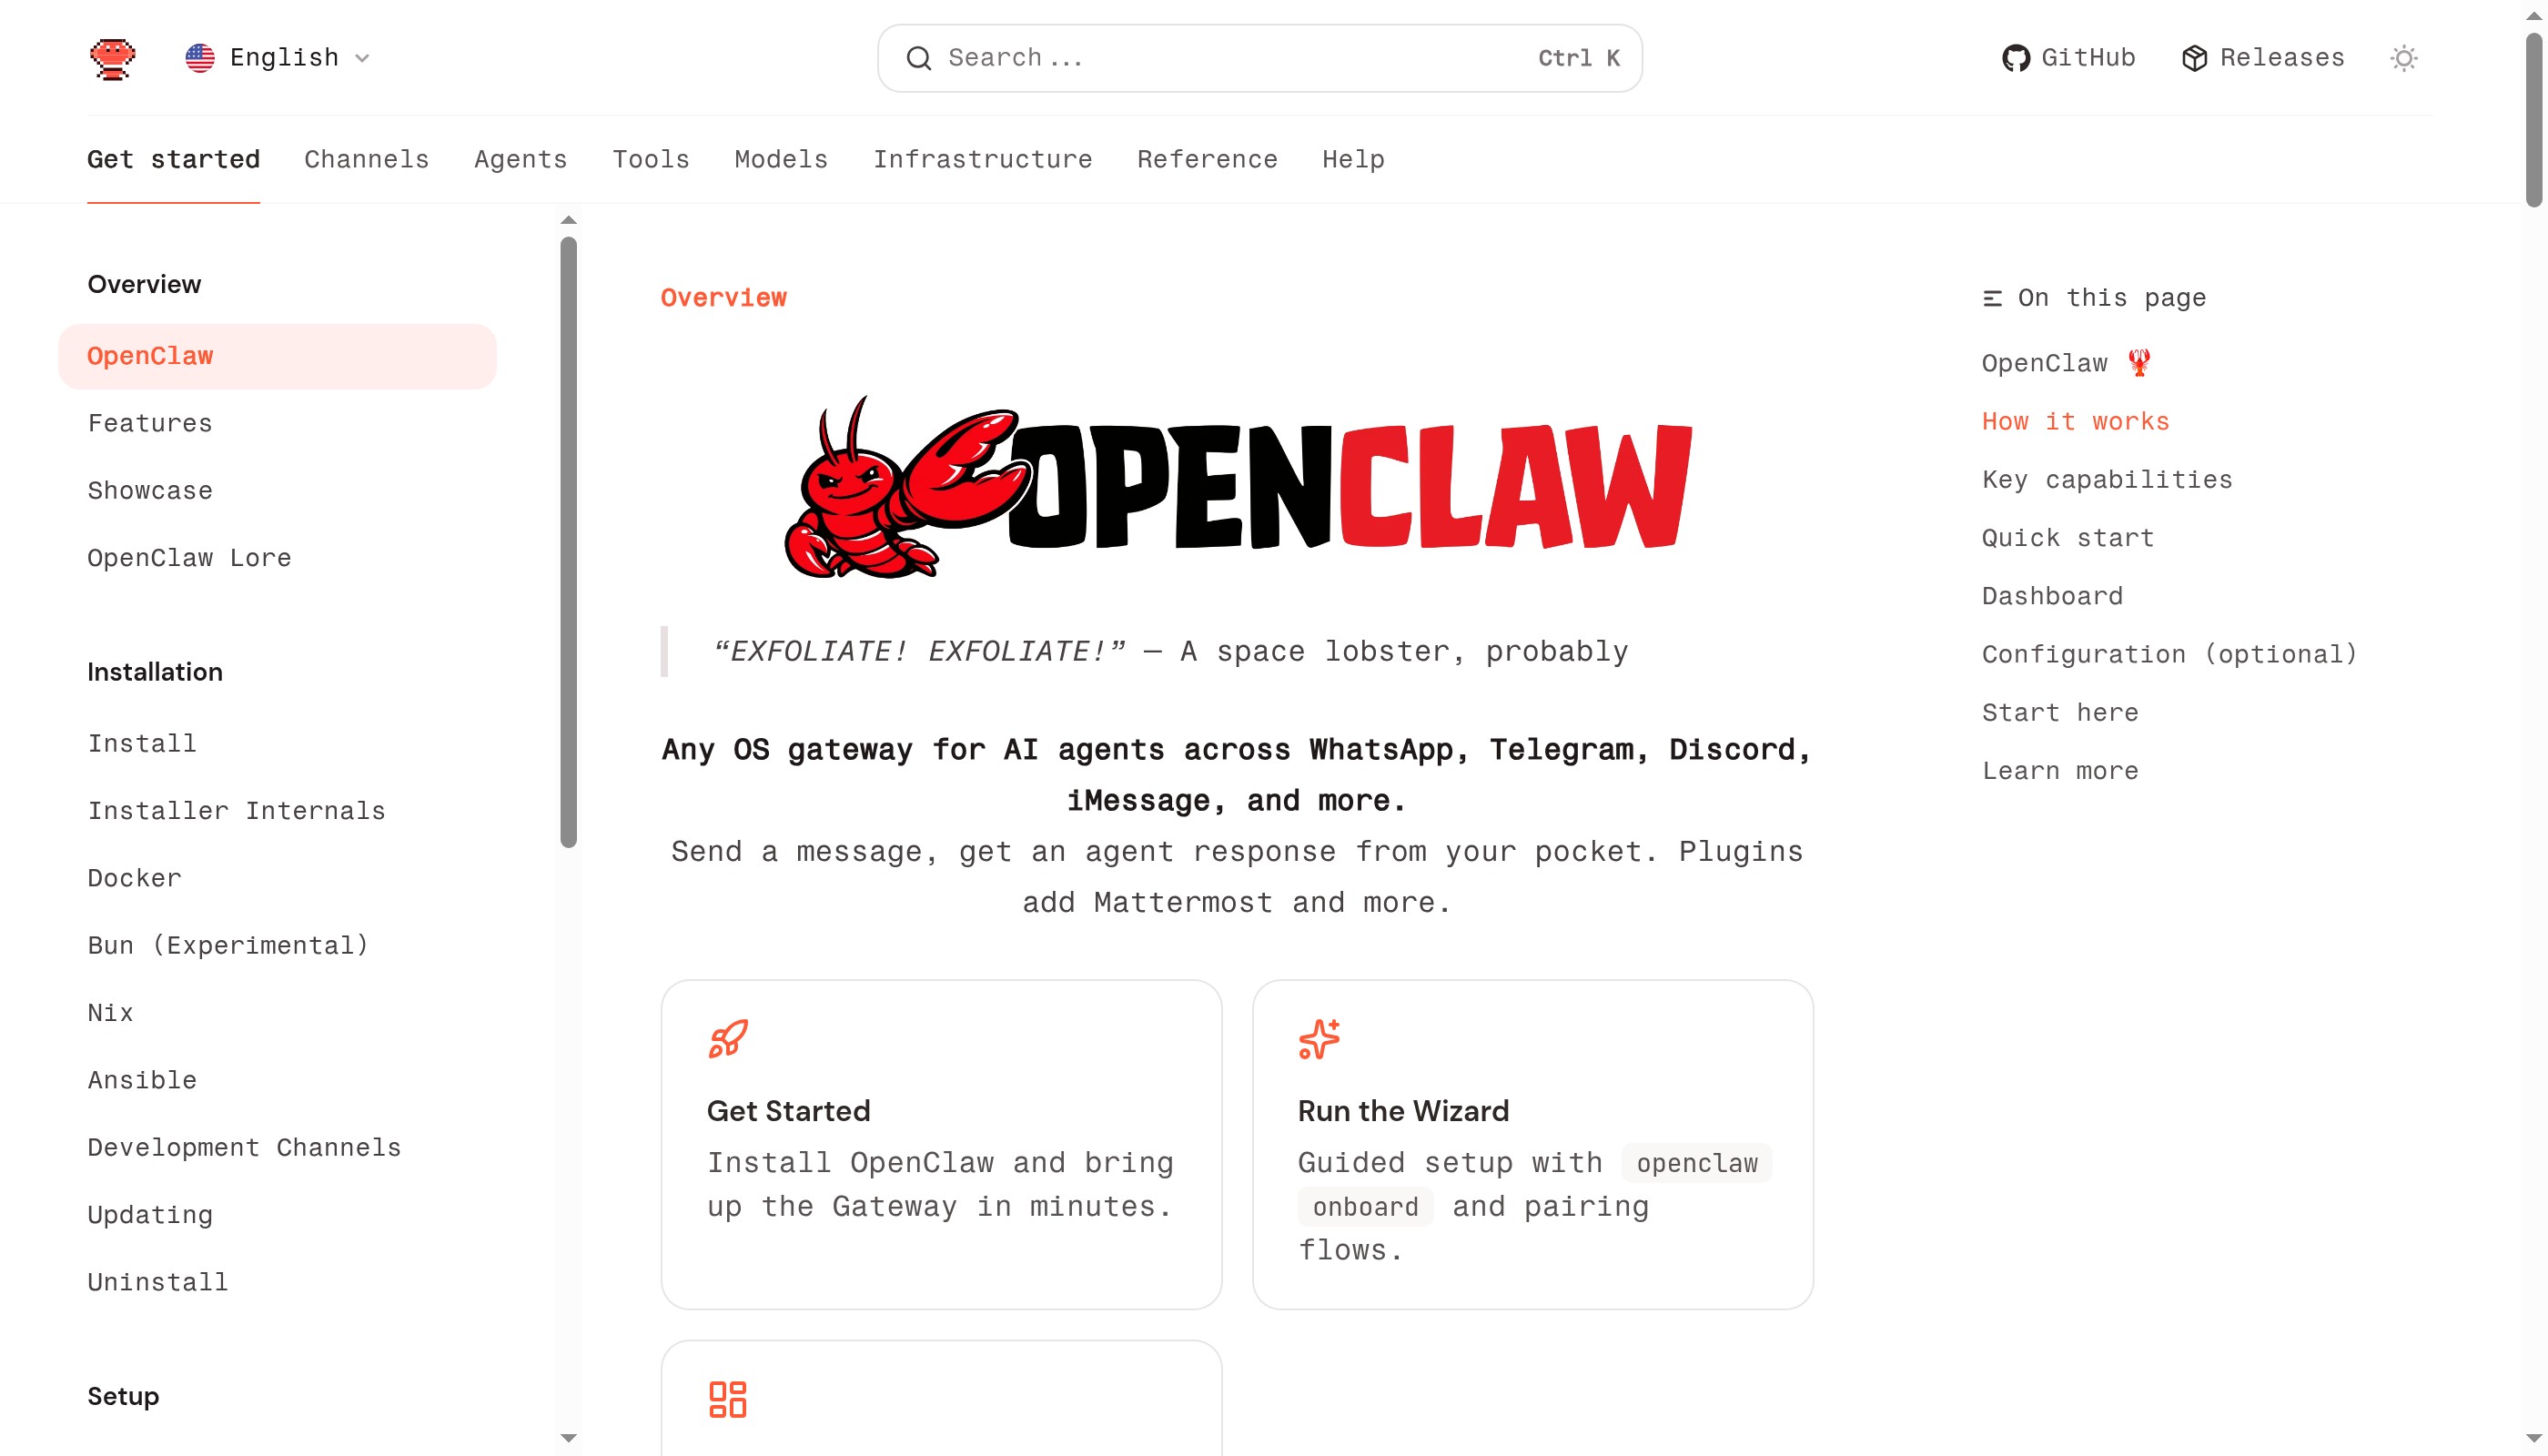
 OpenClaw's homepage — one curl command installs everything you need.
Once your virtual Mac is set up, open Terminal (Applications → Utilities → Terminal). This is where we'll install OpenClaw. Everything from here on out happens inside the VM — your real Mac is completely safe.
Run a single command to install OpenClaw:
curl -fsSL https://get.openclaw.ai | bash
This installer will:
- Install Node.js if it's not already present
- Install OpenClaw globally
- Launch the onboarding wizard
Step 5: Complete the Onboarding Wizard
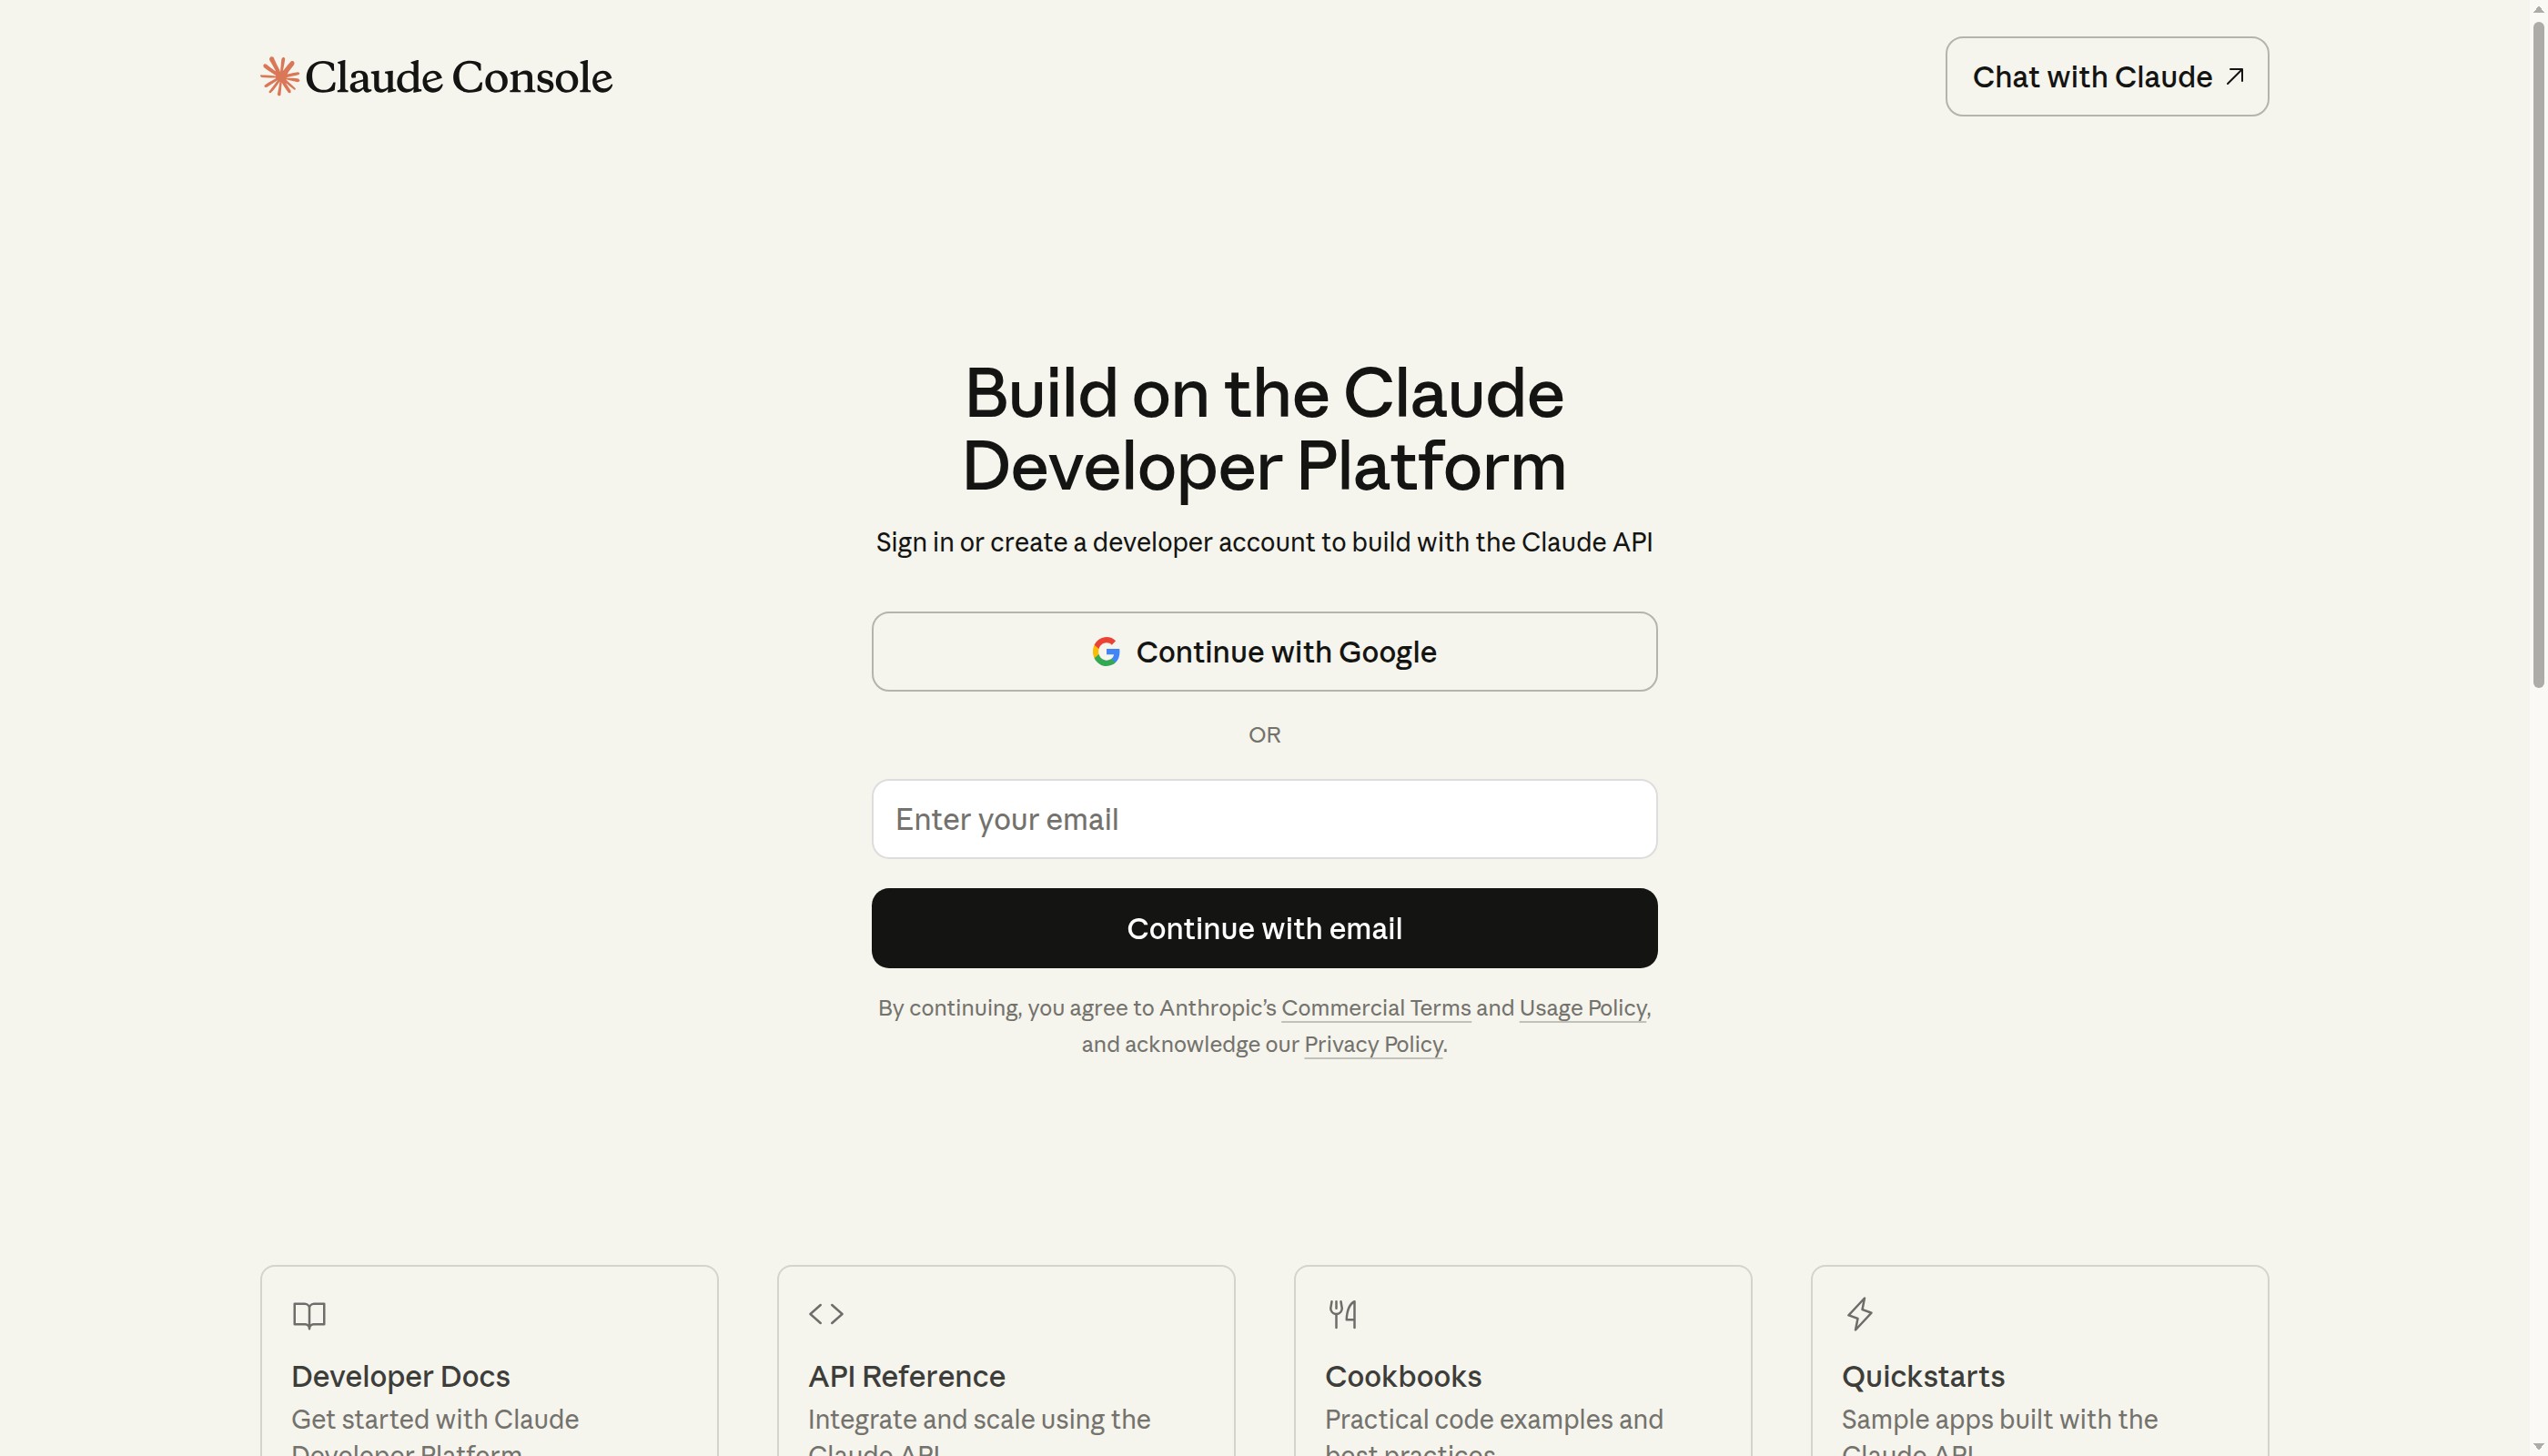 The Claude Console is where you get your API key and manage your OpenClaw connection.
The onboarding wizard walks you through everything:
- Select QuickStart mode — the fastest path to a working setup
- Choose Anthropic as your provider — you'll need a Claude API key or subscription
- Paste your API key — get one from the Claude Console
- Select your model — Claude Sonnet is great for most tasks, Opus for complex work
- Choose your chat channel — Telegram, Discord, or the built-in Terminal UI
Within five minutes of running that command, you'll have a fully functional AI assistant running safely inside your VM.
Already hosting in the cloud? If you'd rather run OpenClaw on a remote server instead of locally, check out our AWS setup tutorial or our hosting comparison guide to find the right option for you.
Step 6: Set Up Zapier MCP for App Connections
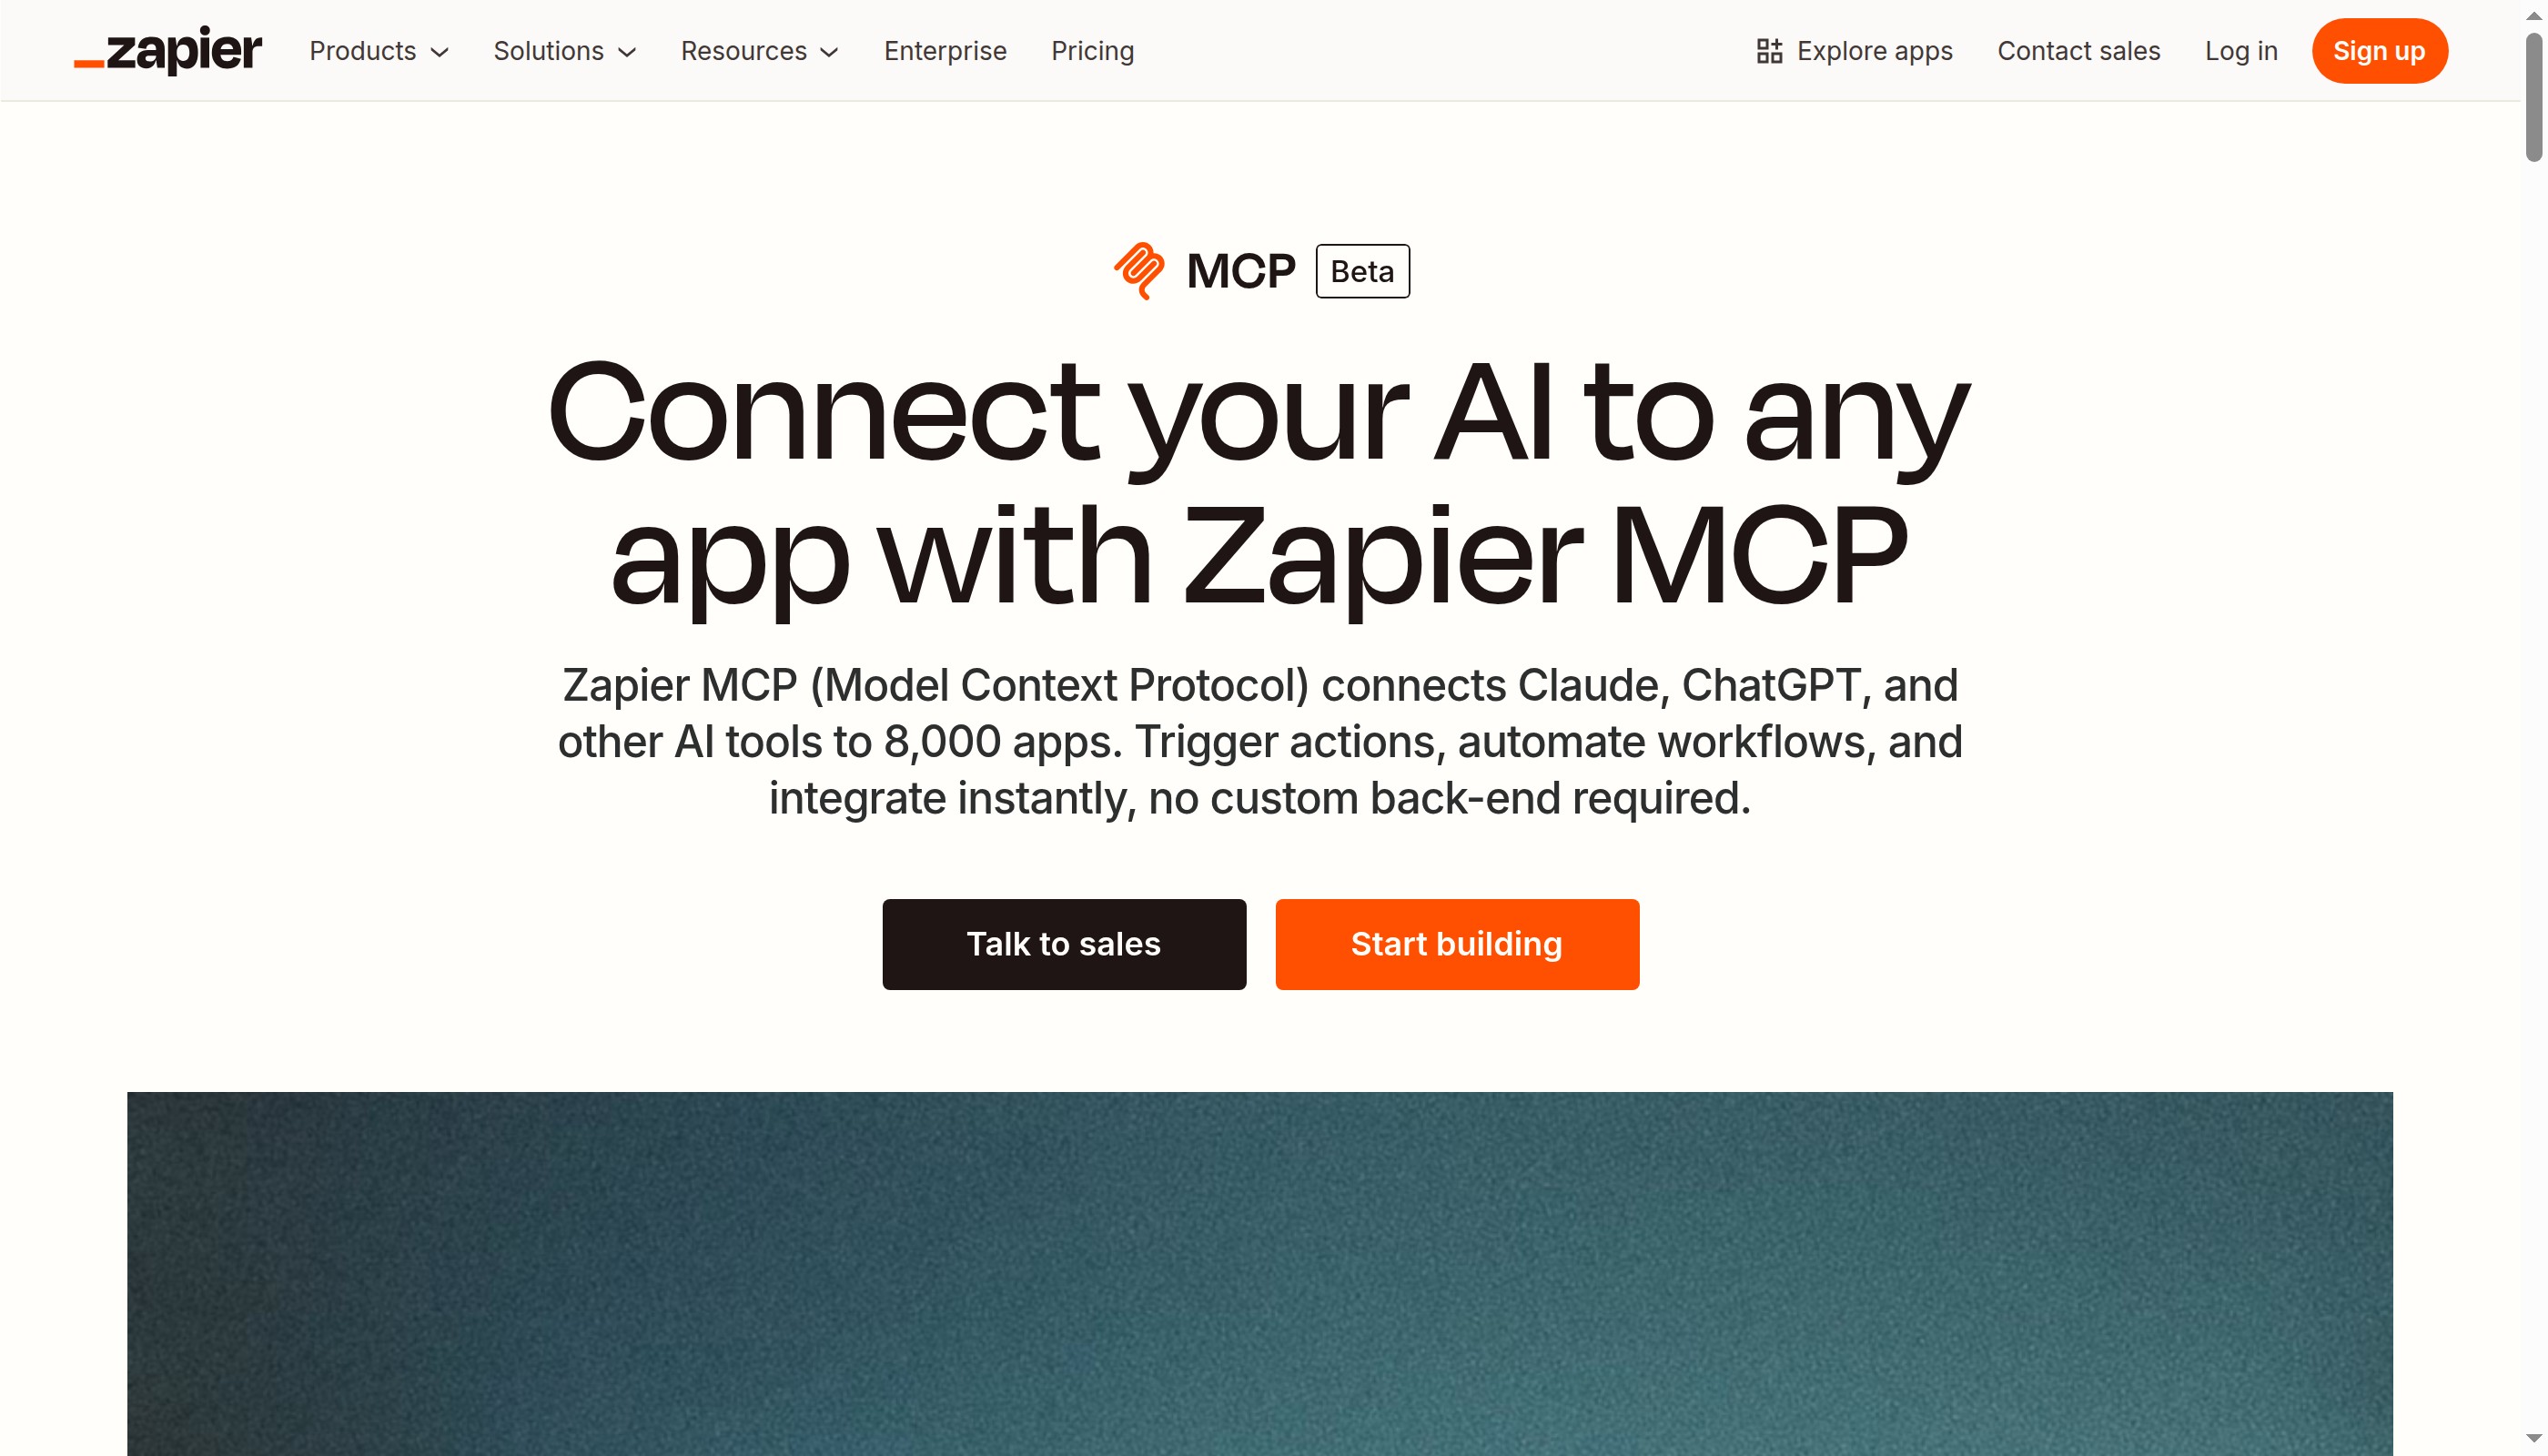 Zapier MCP lets you connect your AI to any app — Gmail, Notion, Slack, Sheets, and 8,000+ more.
On its own, OpenClaw can do a lot within your computer. But with Zapier MCP (Model Context Protocol), it can interact with practically every app you use — without needing individual API keys for each one.
MCP is a standard protocol that lets AI agents connect to external tools and services. Zapier's MCP server acts as a bridge: you configure which apps OpenClaw can access, and it handles all the authentication and API calls behind the scenes.
Step 7: Configure Your Zapier MCP Apps
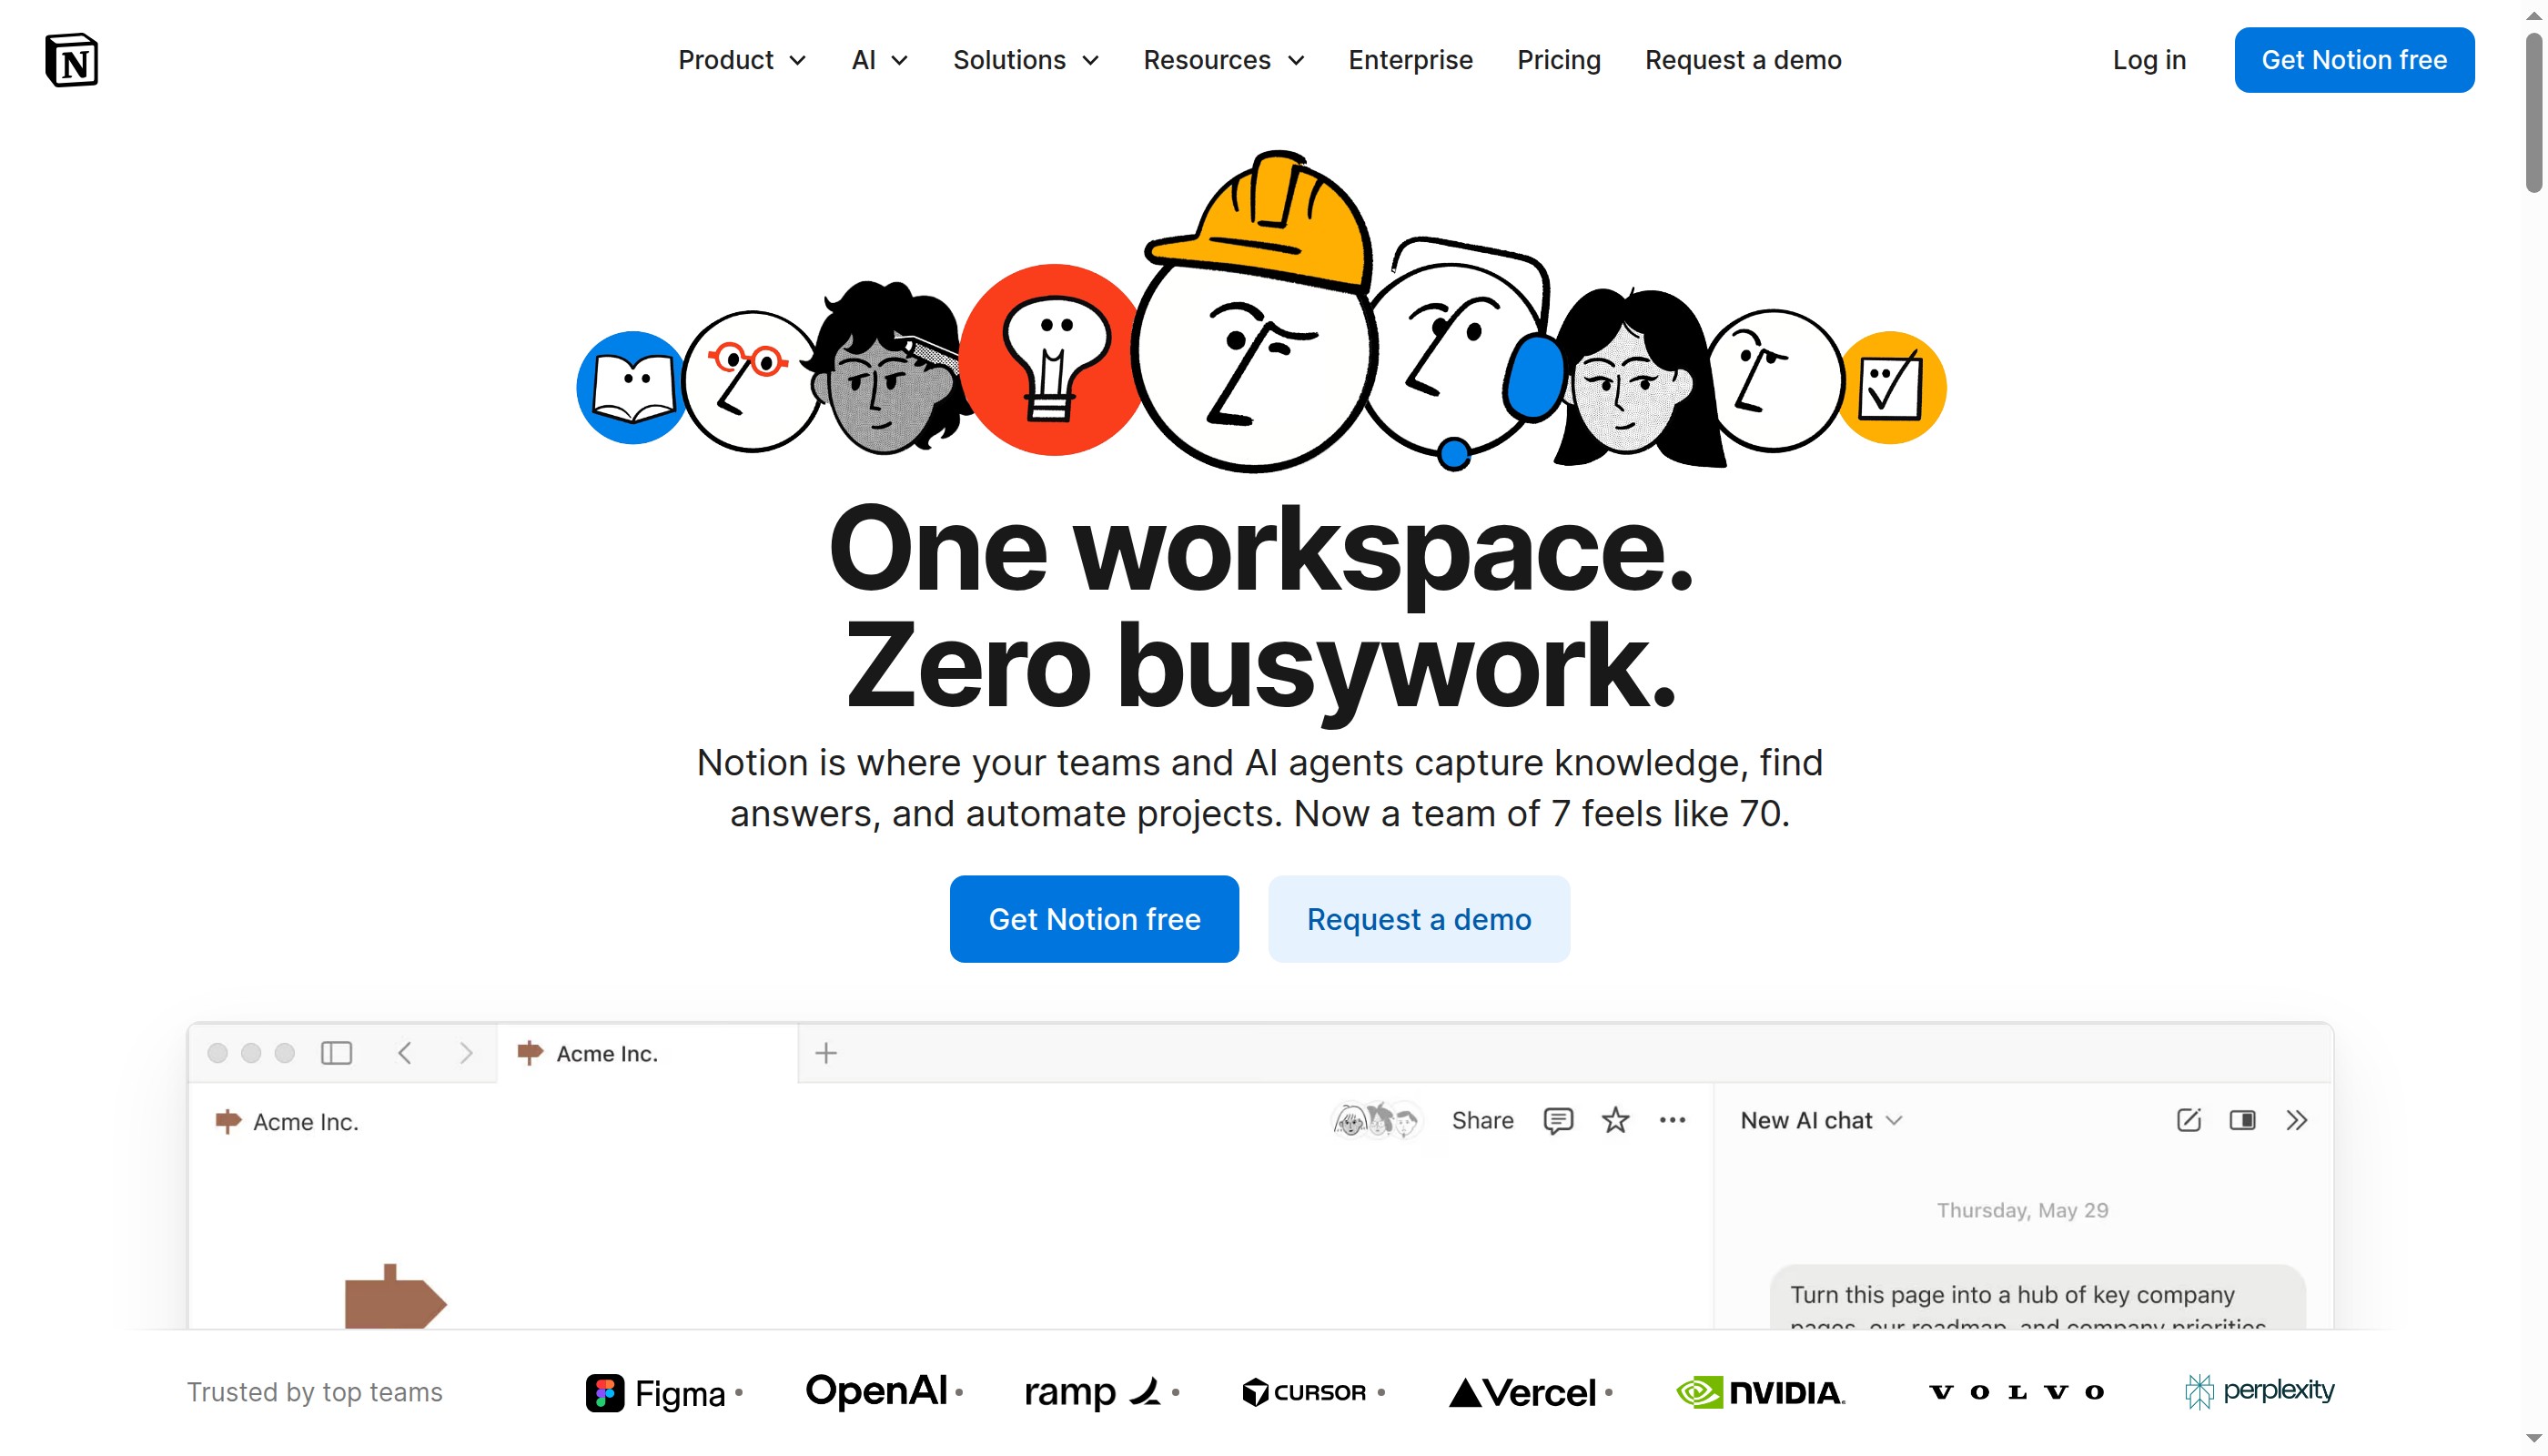 Notion is one of the most popular apps to connect — OpenClaw can read and write pages, manage databases, and automate workflows.
Follow these steps to connect your apps:
- Go to zapier.com/mcp and sign up (there's a free tier)
- Choose the apps you want to connect — start with the essentials:
- Gmail — read, send, and draft emails
- Google Calendar — check and create events
- Notion — read and write pages, databases
- Slack — send messages, read channels
- Google Sheets — read and write spreadsheet data
- Authorize each app — Zapier walks you through OAuth for each service
- Copy your MCP configuration — Zapier gives you a JSON configuration block
- Add it to OpenClaw's MCP config — paste the configuration into your OpenClaw MCP settings
Once connected, you can tell OpenClaw things like:
- "Check my Gmail for anything urgent"
- "Create a Notion page summarizing today's meetings"
- "Send a Slack message to #team-updates with our weekly metrics"
Step 8: Test Your Setup with Real Tasks
 Verify your setup works with practical examples
Now that everything is connected, test your setup with some real-world tasks:
Email automation example:
"Check my inbox. For that email from the client about the project timeline, draft a response saying we're on track for the March deadline and include the updated milestones."
OpenClaw reads the email via Gmail MCP, understands the context, drafts a professional response in your writing style, and either sends it directly or queues it for your review.
Vibe coding example:
"Take the product descriptions from my Notion database, generate audio versions using ElevenLabs, and save the links back to the database."
OpenClaw reads the Notion database, processes each entry, calls the ElevenLabs API to generate voiceovers, and updates Notion with the results.
The Costs
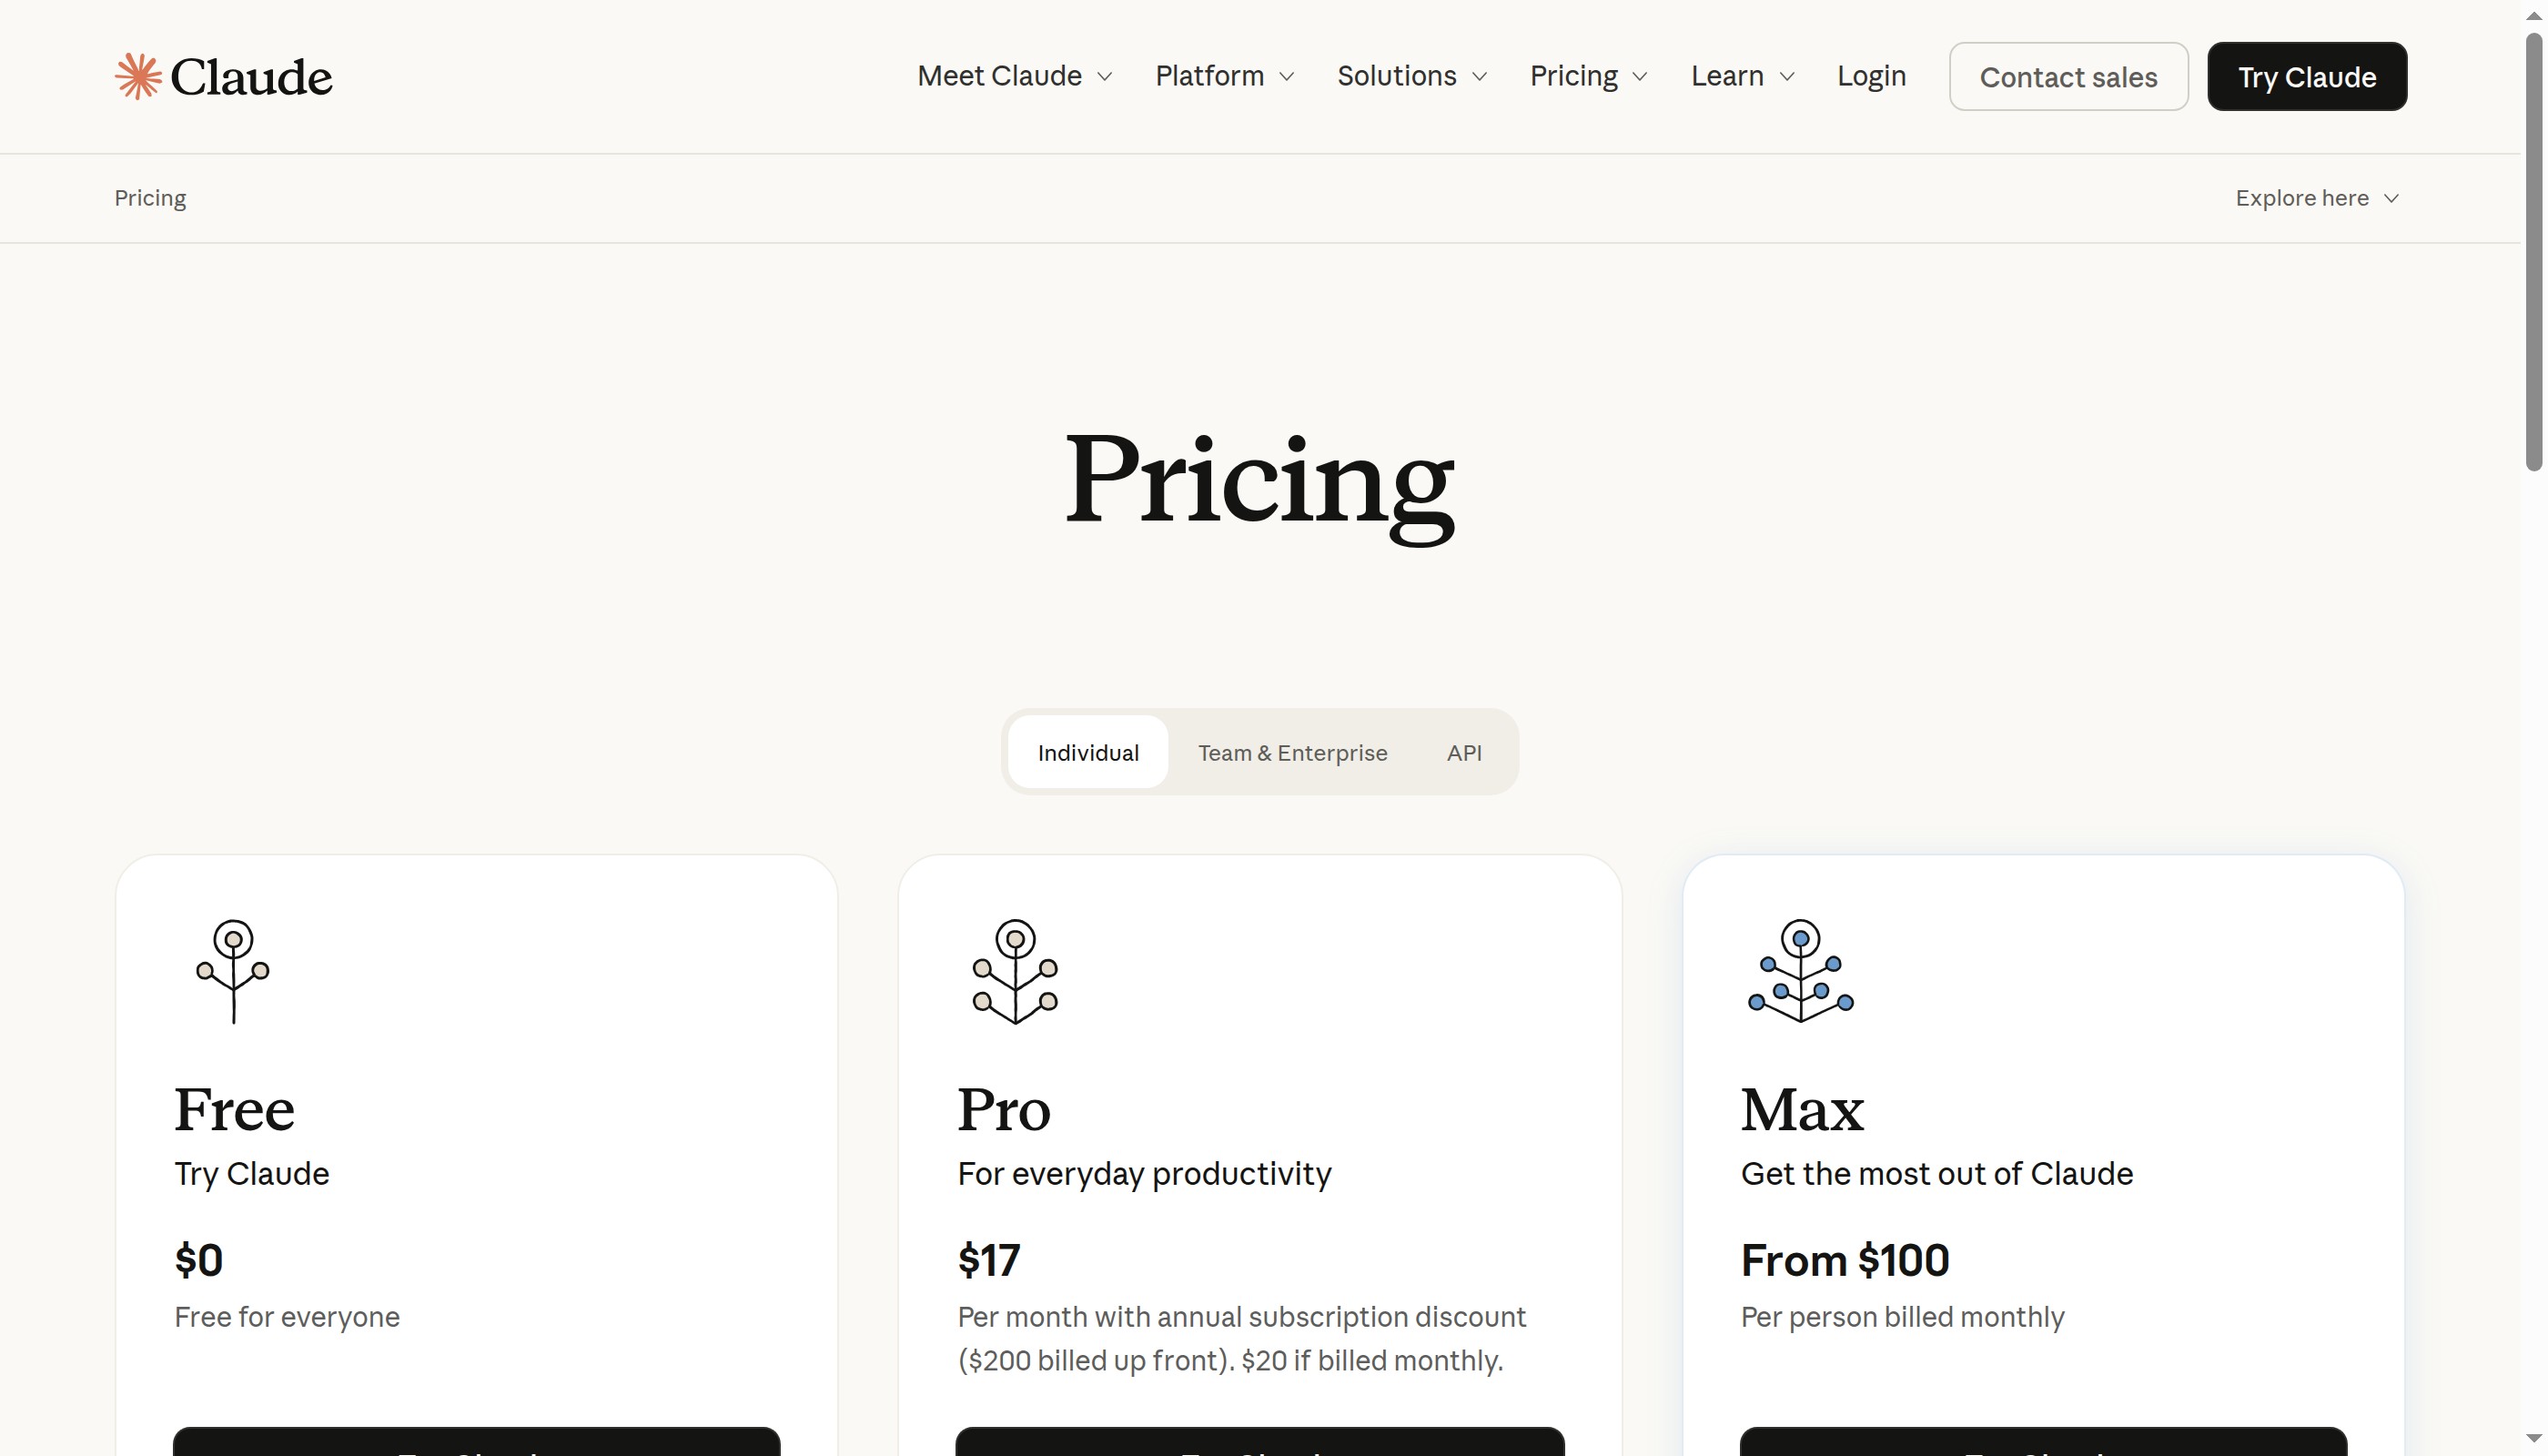 Claude's pricing page — the Pro plan at
 $17/month covers most OpenClaw usage.
Here's what this setup actually costs:
| Item | Cost |
|---|---|
| UTM (Virtual Machine app) | Free |
| macOS VM | Free (uses your existing macOS license) |
| OpenClaw | Free (open source) |
| Claude API (Anthropic) | ~$20/month (with typical usage on the Pro plan) |
| Zapier MCP | Free tier available (100 tasks/month), paid plans from $20/month |
| Total (free tier) | ~$20/month |
| Total (with Zapier paid) | ~$40/month |
For roughly the cost of a couple of coffee shop visits, you get an AI assistant that can manage your email, organize your Notion, post to Slack, update spreadsheets, and automate basically anything.
Want to cut hosting costs further? Our hosting comparison covers options as cheap as
$4.70/month for running OpenClaw on a cloud server instead of locally.
Conclusion
 Your safe AI sandbox is ready to use
Running OpenClaw inside a virtual machine is the safest, most beginner-friendly way to get started with AI agents. You get all the power of a full AI assistant — file management, code generation, email automation, multi-app workflows — with none of the risk to your real system.
Quick summary of what we did:
- Installed UTM and created a macOS virtual machine
- Ran the one-line OpenClaw installer inside the VM
- Connected 8,000+ apps via Zapier MCP
- Tested real-world automation tasks
The setup takes about 30 minutes total, and you end up with a safe, powerful AI assistant that can interact with all your apps.
📺 Watch the full walkthrough: Moltbot: The Safe & Easy Way (Beginner Tutorial) by Creator Magic
Ready to try a cloud-based setup instead? Check out our step-by-step AWS tutorial for running OpenClaw on a remote server, or browse our hosting comparison to find the cheapest option for your needs.
Happy automating! 🚀
More Articles
The Ultimate OpenClaw AWS Setup Guide
The definitive guide to setting up OpenClaw on AWS. Includes spot instance configuration, cost optimization, and step-by-step instructions.
Building AI Workflows with Tool Chaining in OpenClaw
Master the art of chaining tools and function calls to build powerful multi-step AI automation workflows—from data extraction to content generation and deployment.
Cost Optimization Guide for Self-Hosted AI Assistants: Run Claude on a Budget
Practical strategies to reduce API costs for self-hosted AI assistants—smart model routing, caching, batching, and OpenClaw-specific optimizations to run Claude affordably.